Suppliers/Dealers or anyone selling with a commercial view in mind CANNOT post here unless responding to a specific request of a member in a "wanted" post.
Suppliers include people "breaking for spares" on a regular basis, when purchasing spares members should ask a supplier what they contribute to the running of the forum particularly if contacted by a Private Message
Suppliers or Members who have contributed to the forum can be identifed by the logo.
What did you do to your jimny today?
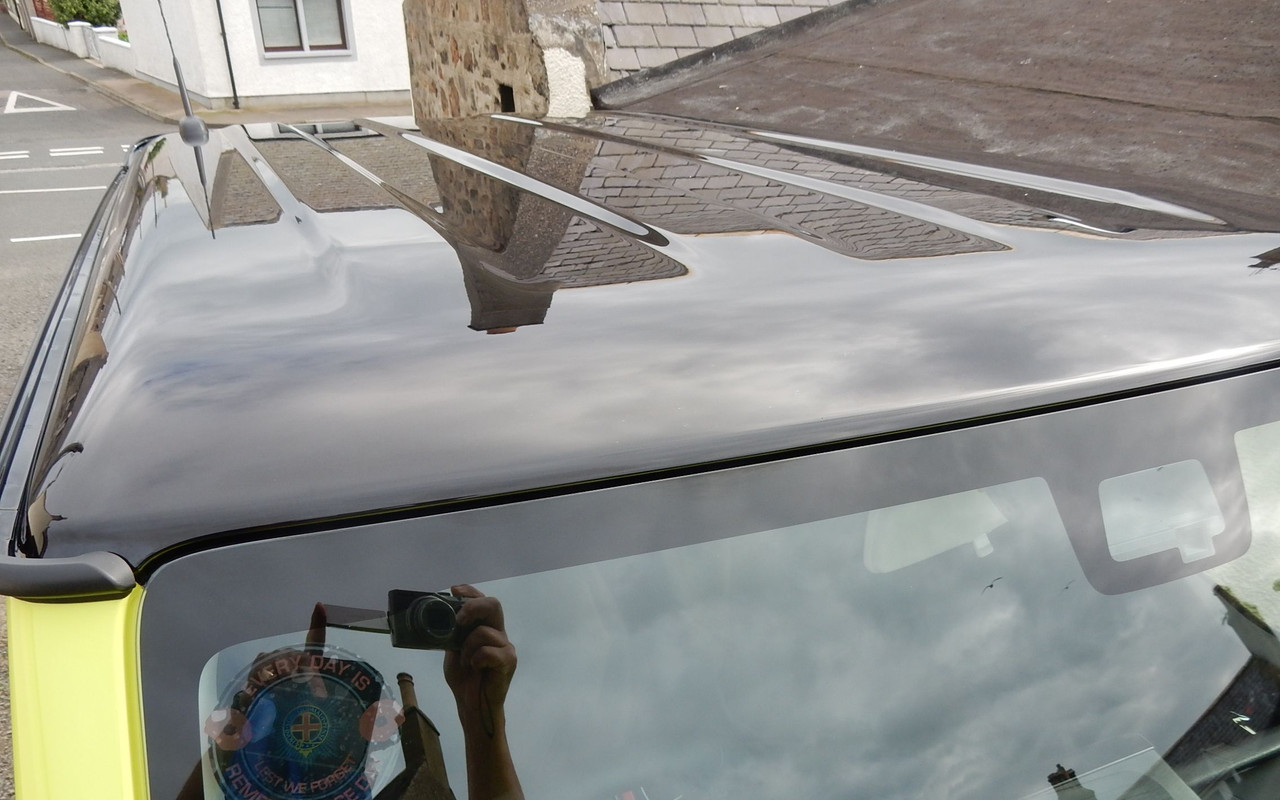
Scimike wrote: Today I used a clay bar for the first time on the Jimny. It was a Christmas present for use on my classics, but in a "I'll try it on something else first " moment our everyday Jimny was the target.
Totally enjoyed the process and our Jimny's paint, even though clean, was filthy!
The brown muck that came off the surface was unbelievable.
Our Jimny now has a shine to embarrass a new vehicle and a drag coefficient of zero, swear it feels faster :laugh:
Clay bar is excellent, even when the paint looks clean it can feel like sandpaper. A bit of clay barring and it is like glass again.
Black 2019 Jimny SZ5
www.bigjimny.com/index.php/forum/8-my-ji...ley-s-2019-black-sz5
Please Log in or Create an account to join the conversation.
Black 2019 Jimny SZ5
www.bigjimny.com/index.php/forum/8-my-ji...ley-s-2019-black-sz5
Please Log in or Create an account to join the conversation.
- stiffsteve204me
- Visitor
-
Public
Scimike wrote: Today I used a clay bar for the first time on the Jimny. It was a Christmas present for use on my classics, but in a "I'll try it on something else first " moment our everyday Jimny was the target.
Totally enjoyed the process and our Jimny's paint, even though clean, was filthy!
The brown muck that came off the surface was unbelievable.
Our Jimny now has a shine to embarrass a new vehicle and a drag coefficient of zero, swear it feels faster :laugh:
Well done, but we need to see the shine. :laugh:
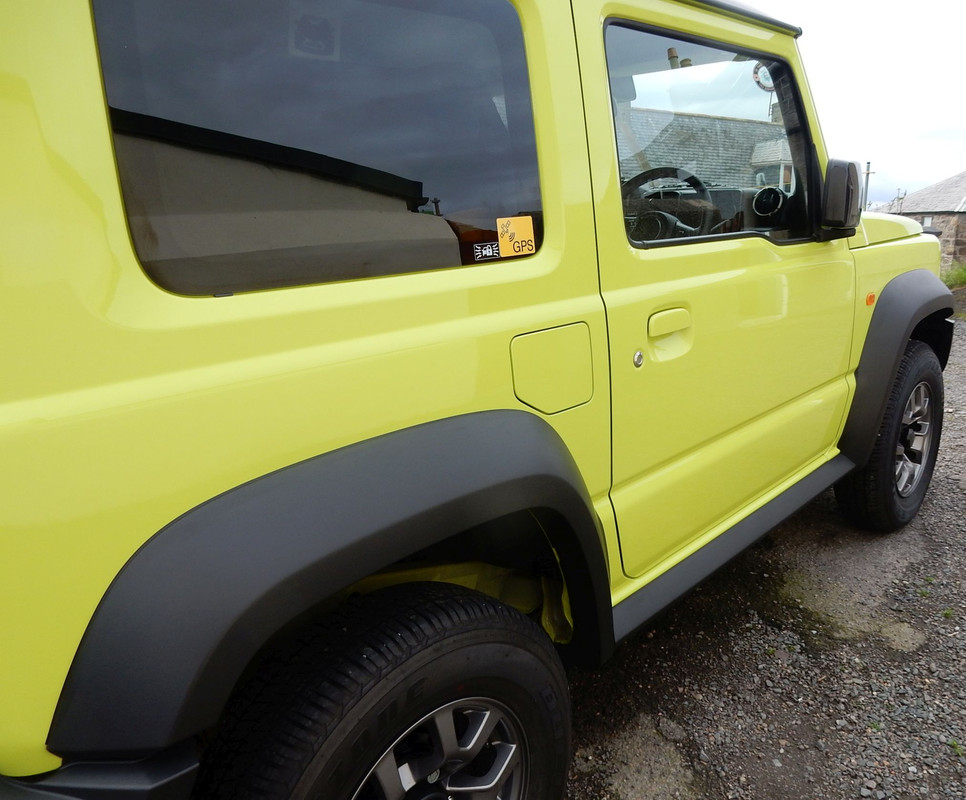
I gave the Jimny its long delayed full monty treatment. Weather, and life, had prevented my getting it clean,clean.
This was the initial plan:
pre wash bug & grime G101
snow foam
dwell
rinse
wheels G101 agitate with brush
pressure wash
APC G101 to door shuts, badges etc. Brush. Pressure wash
Wash - shampoo - pressure wash
Dry
De-con Tar remover. Dwell, wipe. Wash.
Fall out remover. Paintwork and wheels. Dwell several minutes. Pressure wash.
Dry.
Clay lube. Clay side to side. Wipe. move to next panel.
Glass outside, ( Angelwax H2Go), & inside
BH Panel spray
Wax. Fusso
Finish with QD.
Trim.
Tyres.
I did not use clay. The paint felt fine.
Came out well, I think.
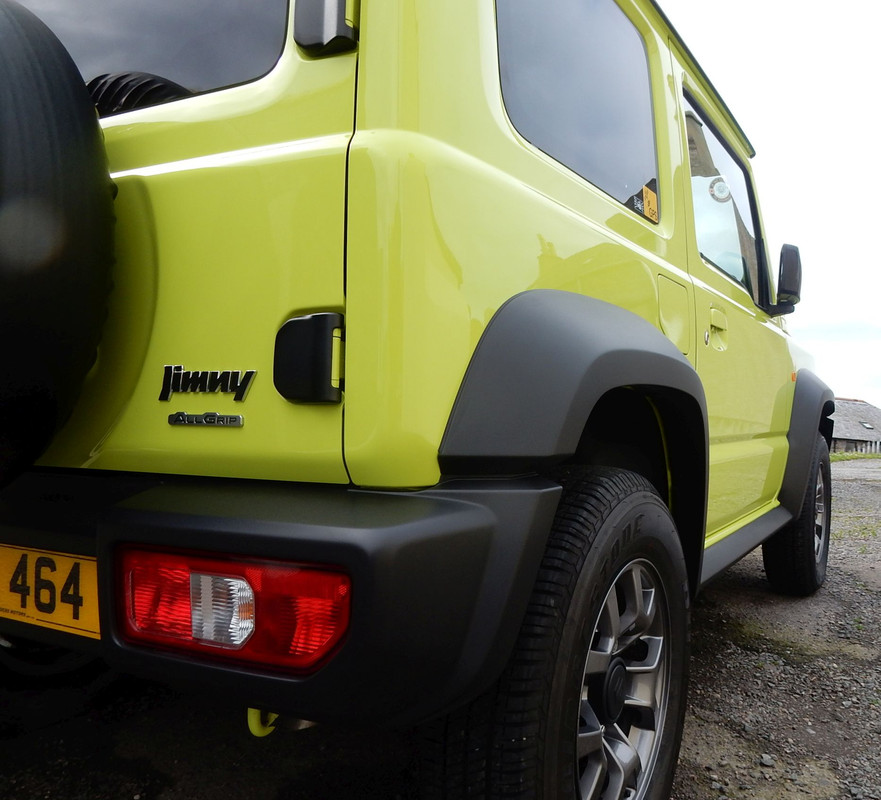
It did take me a wee while, but worth the effort.
Steve.
Please Log in or Create an account to join the conversation.
- Daniel30
- Visitor
-
Public
Looks like you could eat your dinner off it now, love it.
Please Log in or Create an account to join the conversation.
- stiffsteve204me
- Visitor
-
Public
Daniel30 wrote: That's interesting, I thought you would use tar and fallout before you washed with a dedicated shampoo.
Looks like you could eat your dinner off it now, love it.
My thoughts.
It is easy to see tar spots when the car is clean, and easier for the TR to do its job.
The Tar remover is wiped over, once it has had time to work, to remove the tar. I would not want to wipe-over dirty paintwork.
FO will work better once the run of the mill dirt is off the paint, IMO.
It looks good for now, until the seagulls decide it is prime target on their bombing run. :laugh:
Steve.
Please Log in or Create an account to join the conversation.
- Daniel30
- Visitor
-
Public
My god no I couldn't imagine a seagull dropping its guts on that lovely roof I think I would cry :woohoo: :woohoo: :woohoo: :woohoo: :woohoo:
Please Log in or Create an account to join the conversation.
- stiffsteve204me
- Visitor
-
Public
Daniel30 wrote: Thanks Steve yeah sounds like a plan, I like to dabble with the detailing but I'm no pro but understand the basic routine :laugh:
My god no I couldn't imagine a seagull dropping its guts on that lovely roof I think I would cry :woohoo: :woohoo: :woohoo: :woohoo: :woohoo:
One of the main reasons that I like to get some decent protection on the paintwork, is that it is not unusual to get it bombed two or three times a day.
One of the benefits of living a couple of hundred yards from the sea. :whistle:
Steve.
Please Log in or Create an account to join the conversation.
- Reason2doubt
- Offline
- Platinum Member
-
Registered
- Posts: 398
- Thank you received: 100
Spend a few hours carefully cutting and knocking out the existing bushes - some came out dead easy, others took a little bit more grunt:
Got the angle grinder out with a sandpaper end and started to grind away the layers of gunk on the arms. Worked really well and only took about an hour for all 4 of them to clean up around the edges. Also used a soft wire brush on the end of a Dremel to lightly scrub some of the marks from the inside of the bush housing.
Took a drill with a wire brush end to them after to get the other bits:
Got two coats of red hammerite on, still might put another 1 or 2 on:
The whole experience reminded me of building a model car when I was younger, hence why I snapped this picture with one of my old model paint brushes!
While layers of paint were drying, I was getting soaked under the car as it decided to bucket down mid steering damper installation.
Whilst I was soaked, and the car was still jacked up I decided to pop on a rear diff protector as most of the 4x4'ing I do is in a local quarry where there are jagged rocks all over the place (had a close call last time I was out). Front one will fit next week, hopefully with the new radius arms and bushes.
Please Log in or Create an account to join the conversation.
- DorukC
- Visitor
-
Public
Please Log in or Create an account to join the conversation.
- Daniel30
- Visitor
-
Public
Please Log in or Create an account to join the conversation.
- Reason2doubt
- Offline
- Platinum Member
-
Registered
- Posts: 398
- Thank you received: 100
Firstly we got the car jacked up and started on the driver side rear. After about half an hour of hacking away the bolts the arm came loose.
Bad news, the front mount on the axle had snapped and was completely detached from the axle. Looks like it was very thin after knocking the crud off it, I think it's simply been flexed too much and torn, due to the bush being absolutely hollowed out in that area.
Got to work creating a template bracket with some spare metal sheet (5mm thick) and started to shape it:
Little test fit. Bracket closest to the hub reaches from front to back to reinforce the whole mount, and a smaller bracket was welded to what was left on the other side. The brackets were made a little bit bigger this time to make them more robust.
View from the back - same test fit with the new radius arm:
Not having ever welded before, I was fortunate enough to have a go of my dads welder - its old...(the welder)...and its' from the early 2000's when he used to go greenlaning in his Suzuki Samurai. I dragged up a couple of photos of what that used to look like - coincidentally I recently recovered a load of the photos from some ageing CD's!
Welders look away now... got the brackets tacked on in position, then got to work "welding" (if you can call it that! Not the prettiest job, but it seems to be damn strong!) - took my time to not heat up the axle too much so did max 30 seconds of welding then gave it a few minutes to cool down in between as to not upset any bearings or oils.
Seemed to be holding well when the wheel was put back on. No splitting or popping from the metal.
Fitted the arms with some of those protector plates on the chassis - they were an arse to get on as the mount needed to shaved a little bit, the plate itself had to be cut and it was just a pain in the arse, but hopefully it will serve the car well longer term!
Did the same for the other side which was a straight swap. Also fitted some rear shock re-locator brackets as it was a 5 minute job when I still had the tools out:
Next weekend I'll try to get the front ones done as the bushes are equally as shot there. It's going to the garage tomorrow to get a new exhaust and clutch, so fingers crossed that will make this little thing sound and go properly
Please Log in or Create an account to join the conversation.
- stiffsteve204me
- Visitor
-
Public
Please Log in or Create an account to join the conversation.