Halfords Dog-Taxi
- barnes
- Visitor
-

Public
Please Log in or Create an account to join the conversation.
- JivingDaddy
- Visitor
-

Public
Please Log in or Create an account to join the conversation.
- jonesyba420
- Visitor
-

Public
Halford wrote: Hi zaine
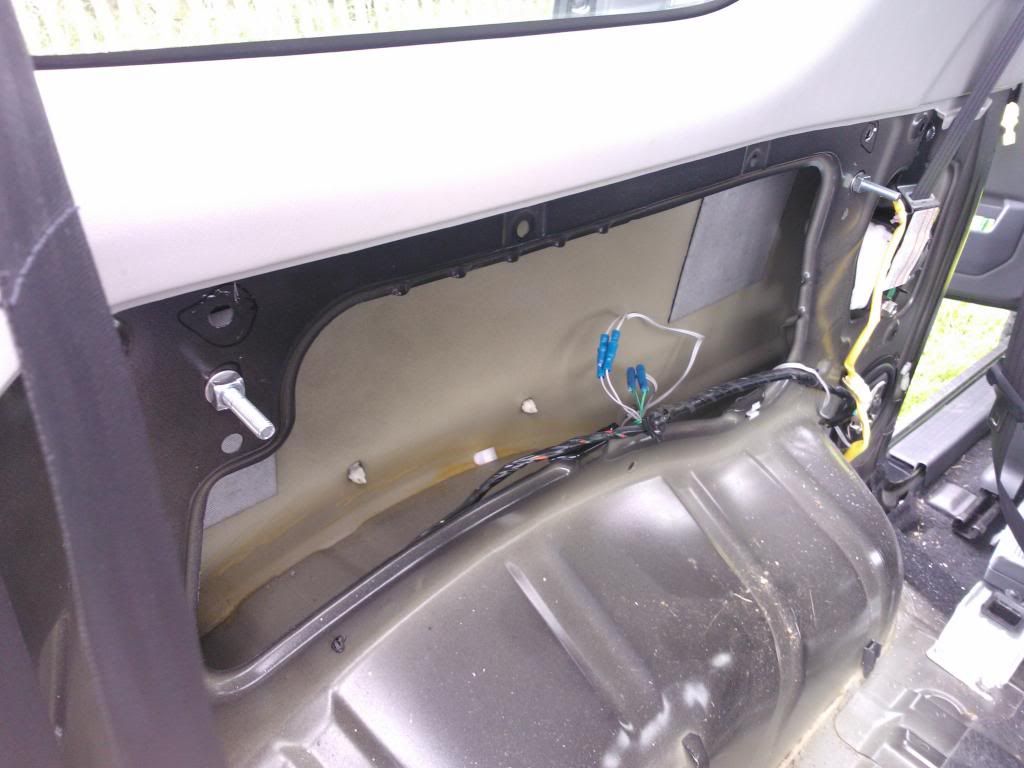
There's a cable with 4 pin connector taped to the wiring harness behind the left hand side rear trim panel, removing the tape gives you about 6 inches of cable play - I simply cut off the connector and attached the speaker cables using blue bullet/socket crimps, it's easy to figure out which cables go where, i.e. black stripe to black stripe - very easy novice DIY job.
Don't forget to "rip-off" the foam from behind the speaker grilles on the rear panels - to let the sound out.
for rear panel removal see here
s227.photobucket.com/albums/dd170/bishop...y%20rear%20speakers/ the password is: suzuki_jimny
does anyone know if all this applies to a 2002 hardtop?
Please Log in or Create an account to join the conversation.
- Posts: 2318
- Thank you received: 360
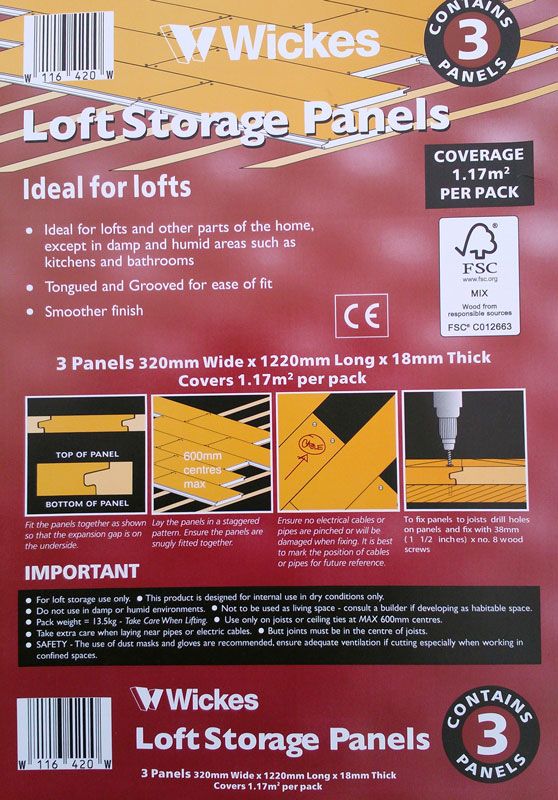
found Wickes 3pk chipboard loft storage interlocking panels ideal @ only £6.98
320mm wide x 1220mm long x 18mm thick
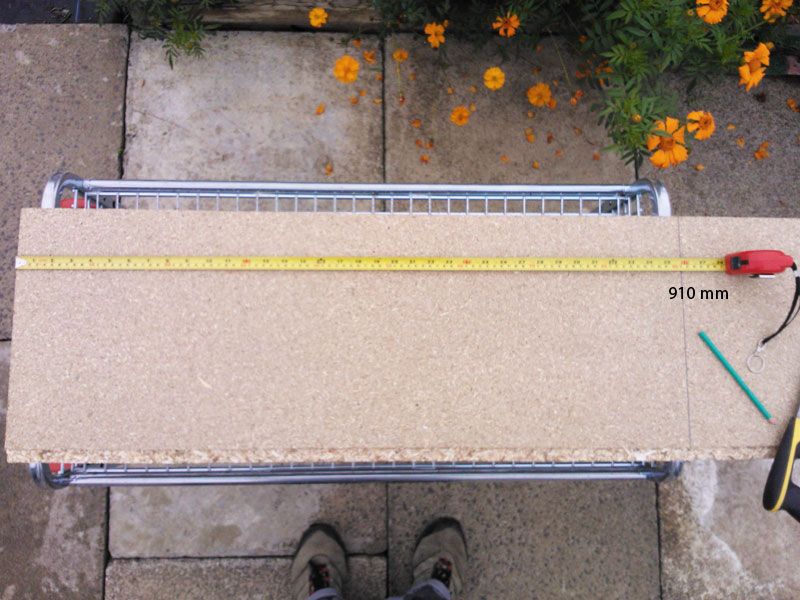
2 of the boards are cut at 910mm wide
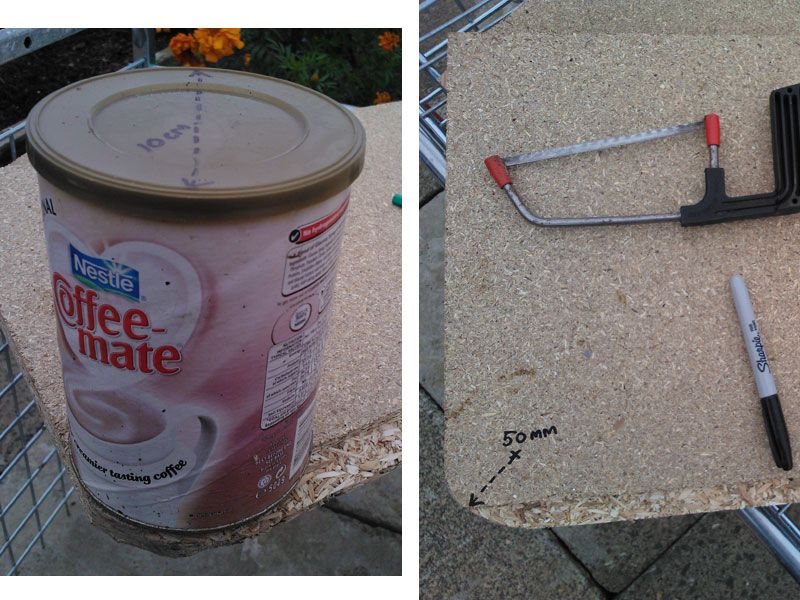
the board nearest the rear door needs radiused corners of 50mm, which just happend to be the size of a 500g coffee mate tub
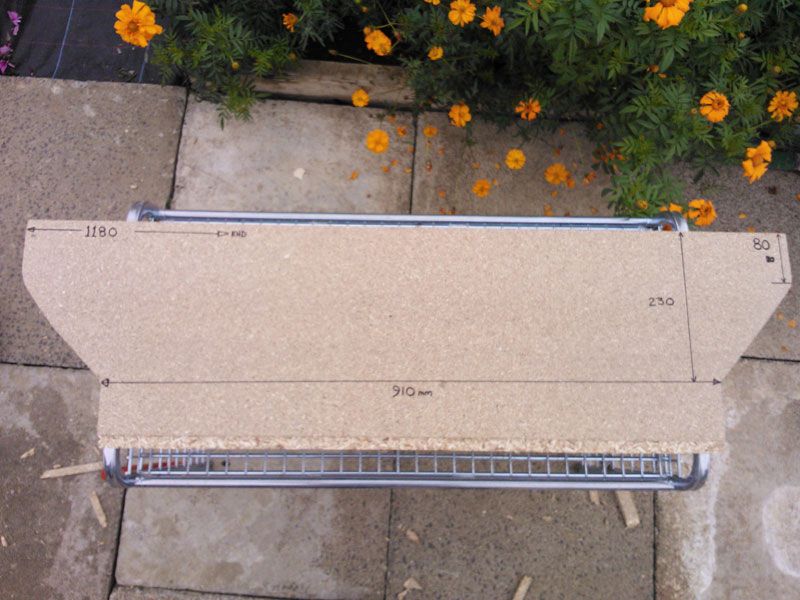
the panel nearest the seats looks as below
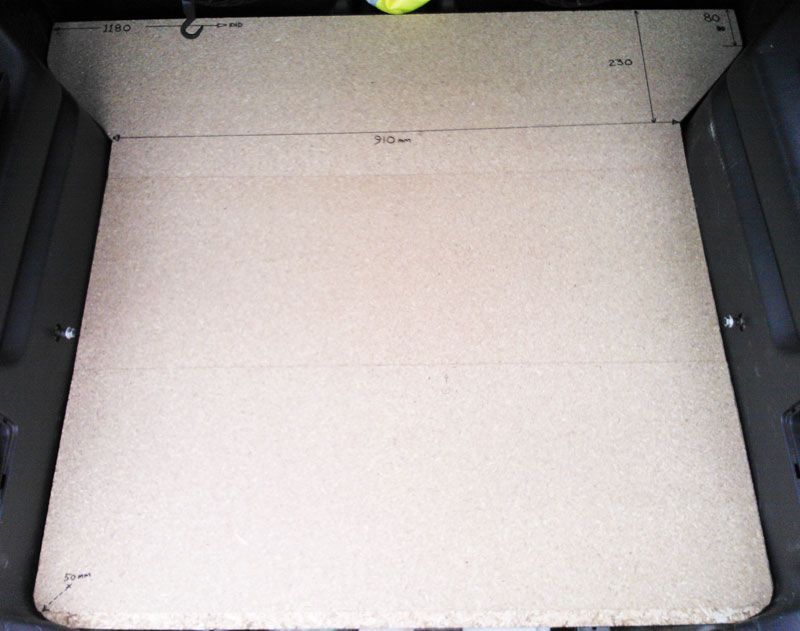
and put them all together
that's the base done, just need to lock the panels together then make a removable tool storage box on the right, will update with the next steps soon
Please Log in or Create an account to join the conversation.
- Tadpole
- Visitor
-

Public
Please Log in or Create an account to join the conversation.
- steffan
- Visitor
-

Public
Don't forget to pva glue the joints or if thay get WET that's where they will rot it will also help stop them from comeing apartHalford wrote: decided to redo the rear space of the DogTaxi
found Wickes 3pk chipboard loft storage interlocking panels ideal @ only £6.98
320mm wide x 1220mm long x 18mm thick
2 of the boards are cut at 910mm wide
the board nearest the rear door needs radiused corners of 50mm, which just happend to be the size of a 500g coffee mate tub
the panel nearest the seats looks as below
and put them all together
that's the base done, just need to lock the panels together then make a removable tool storage box on the right, will update with the next steps soon
Please Log in or Create an account to join the conversation.
- Posts: 2318
- Thank you received: 360
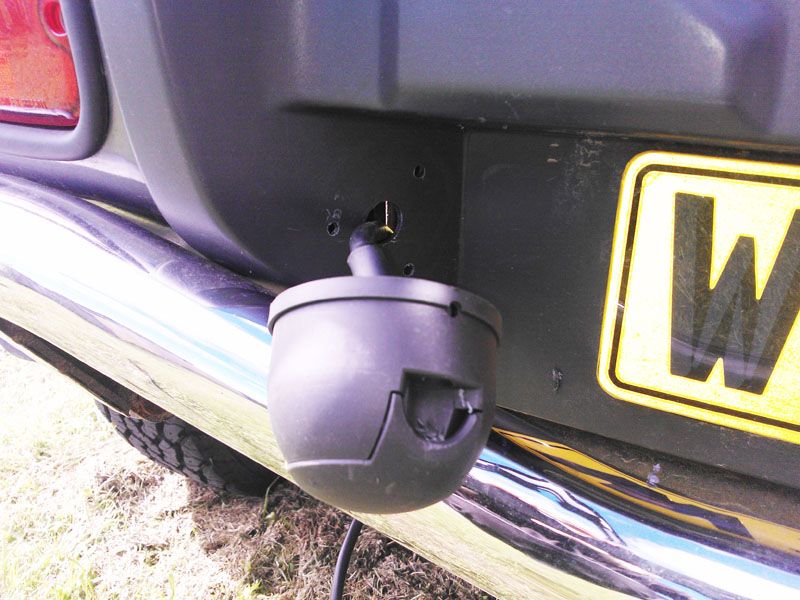
decided to to put it on the bumper.
simple job, just dropped the bumper and drilled some holes
and tightened the bolts,
there's a flap under the nearside rear light behind the bumper and the cable simply feeds through into the nearside rear wing space where the cables can be spliced into
also laid some decking in the rear of the truck .... :blink:
actually used decking to secure the boards to
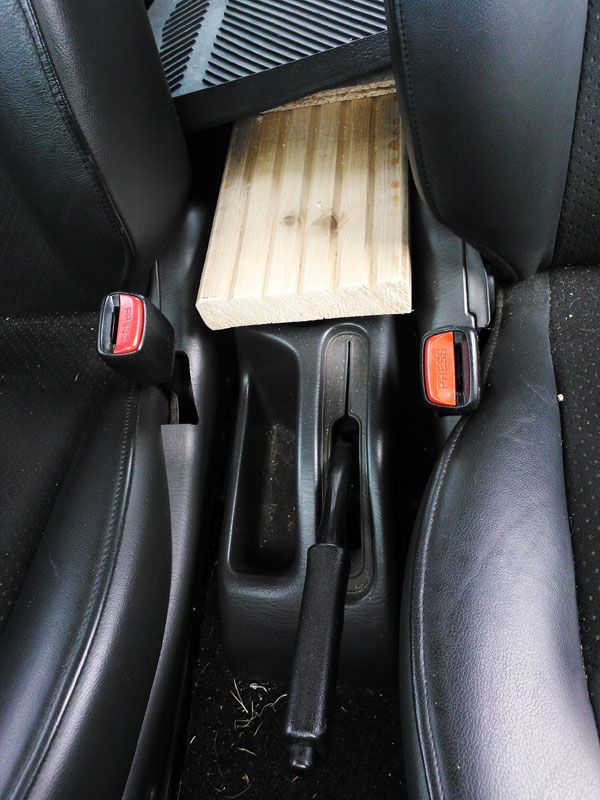
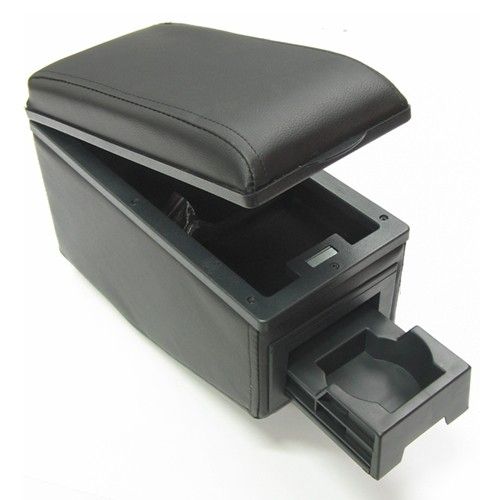
and after seeing helijohns armrest,
decided to utilise the middle board support as a base for an armrest
(ordered from Bulgaria)
Please Log in or Create an account to join the conversation.
- steffan
- Visitor
-

Public
Please Log in or Create an account to join the conversation.
- Posts: 2318
- Thank you received: 360
:laugh: will see how it works when the armrest arrivesAre you going to router some nice corners on to your piece of decking
Please Log in or Create an account to join the conversation.
- steffan
- Visitor
-

Public
Please Log in or Create an account to join the conversation.
- Posts: 2318
- Thank you received: 360
Please Log in or Create an account to join the conversation.
- Posts: 2318
- Thank you received: 360
comfy and handy storage
but putting the seatbelt on/off is a bit more fiddly
should have spent more and got a lift-up one, only paid £15 for this one (and you can tell :sick: )
will give it a couple of days to decide if it stays or goes :S
Please Log in or Create an account to join the conversation.

