A place for more technical discussions. Please make sure you post in the correct section on the site, this way it keeps the site tidy AND ensures you get a more relevant answer.
DIY LED Spotlights - Complete build guide
- Sandez
- Topic Author
- New Member
-

Public
Less
More
- Thank you received: 0
25 Oct 2011 10:49 - 25 Apr 2012 15:34 #24433
by Sandez
DIY LED Spotlights - Complete build guide was created by Sandez
LED Spotlights
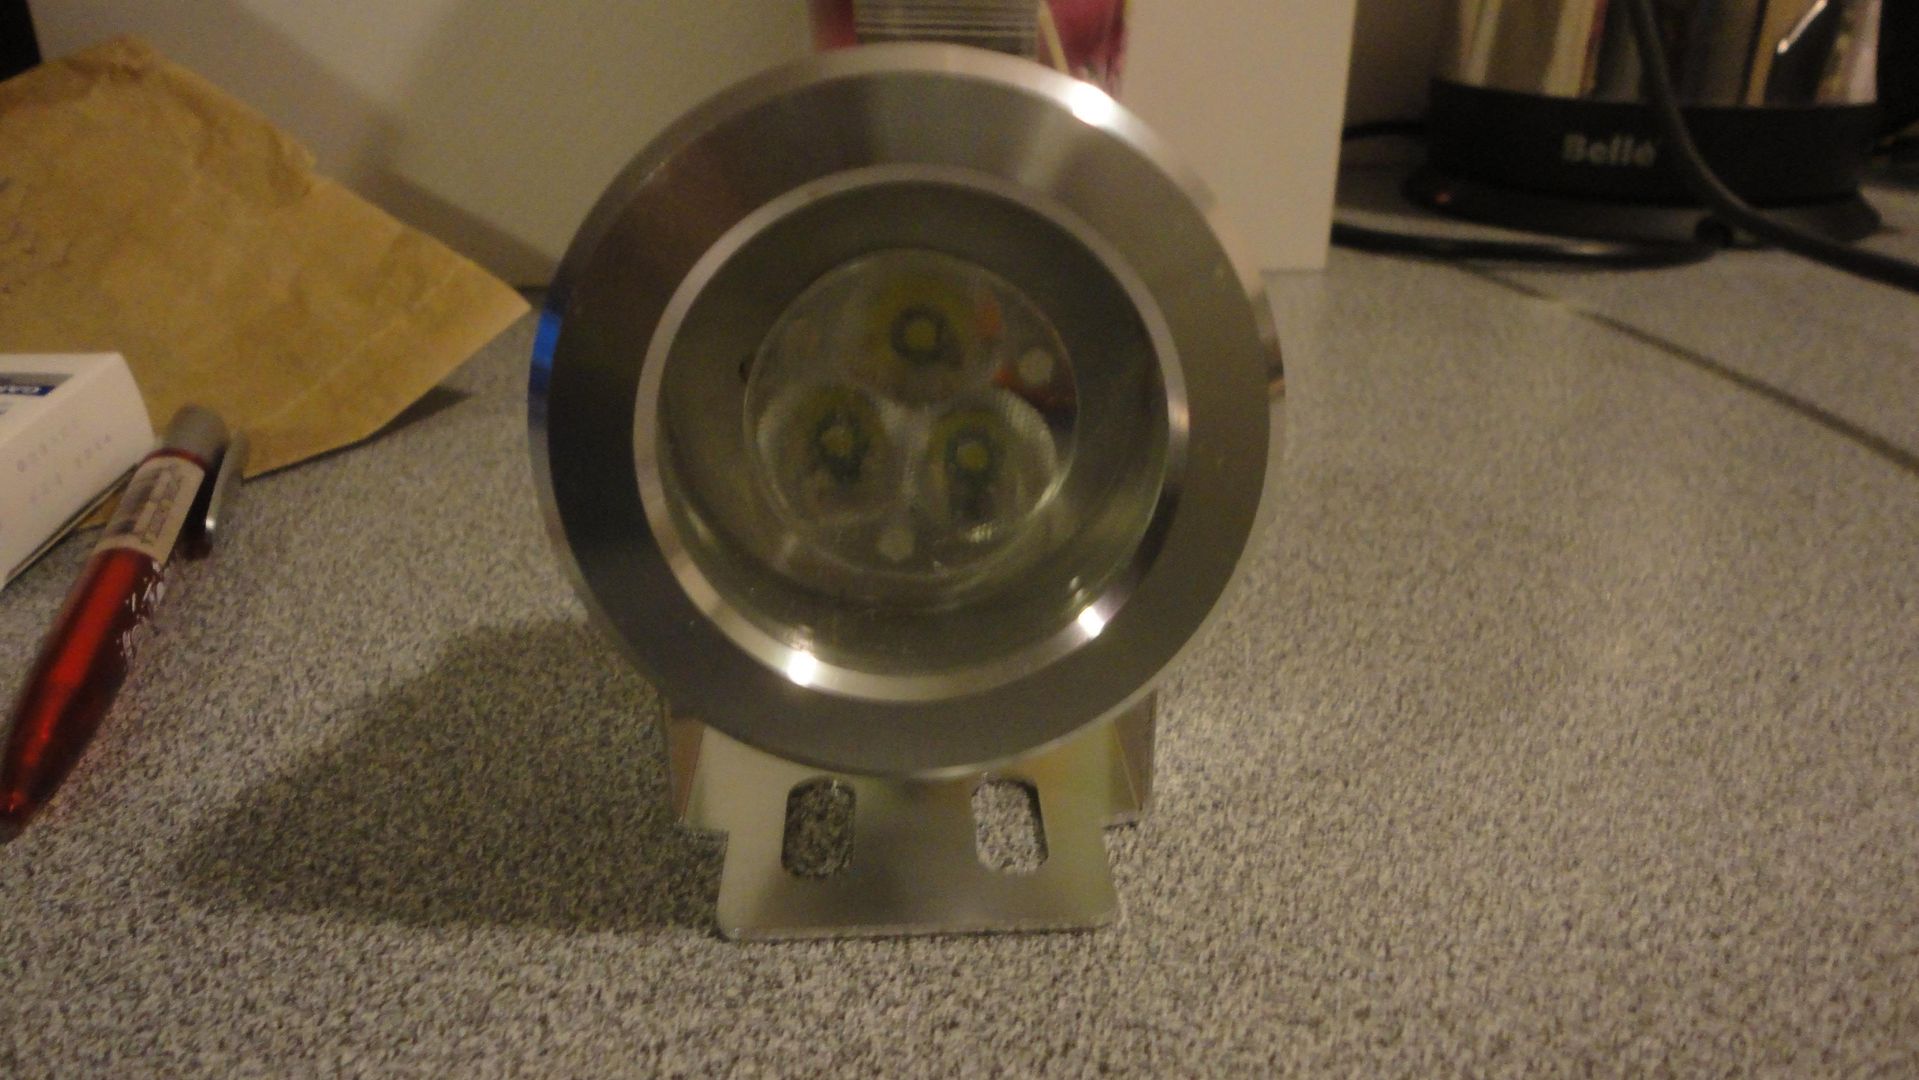
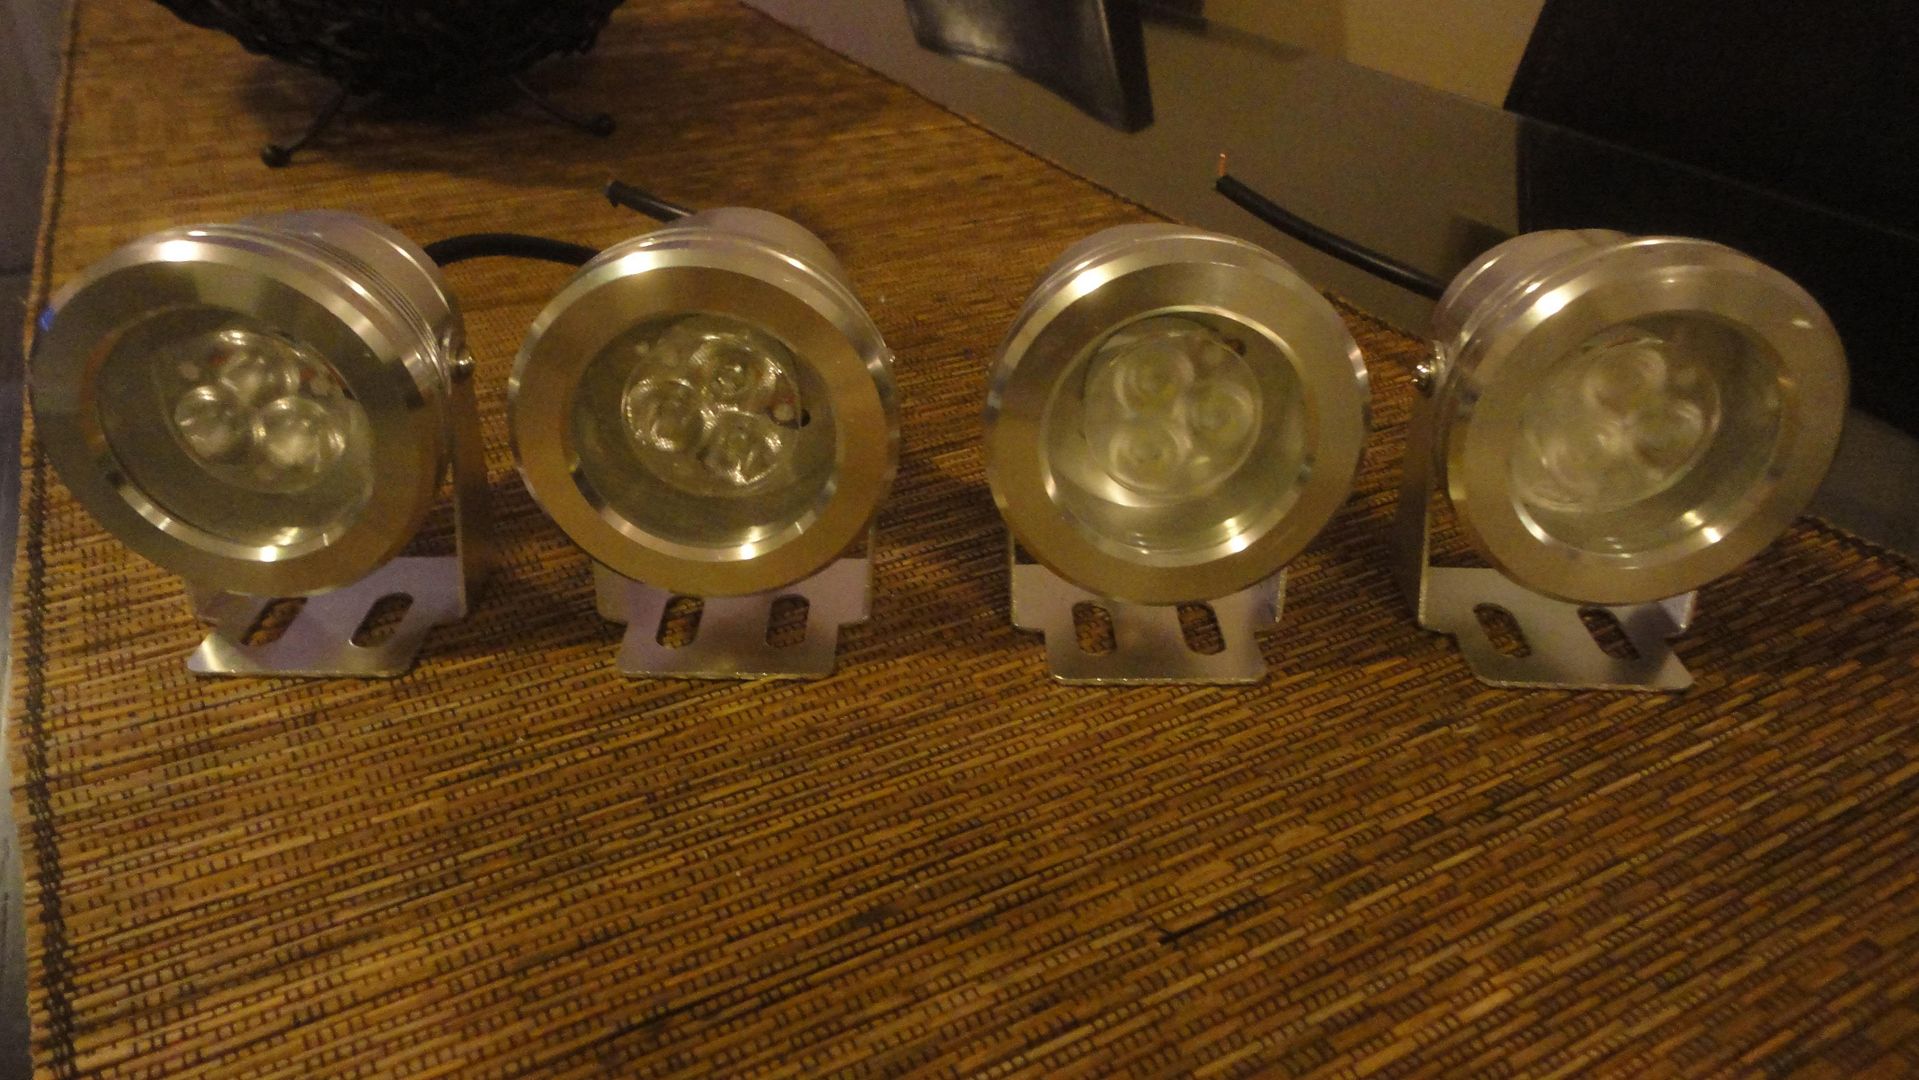
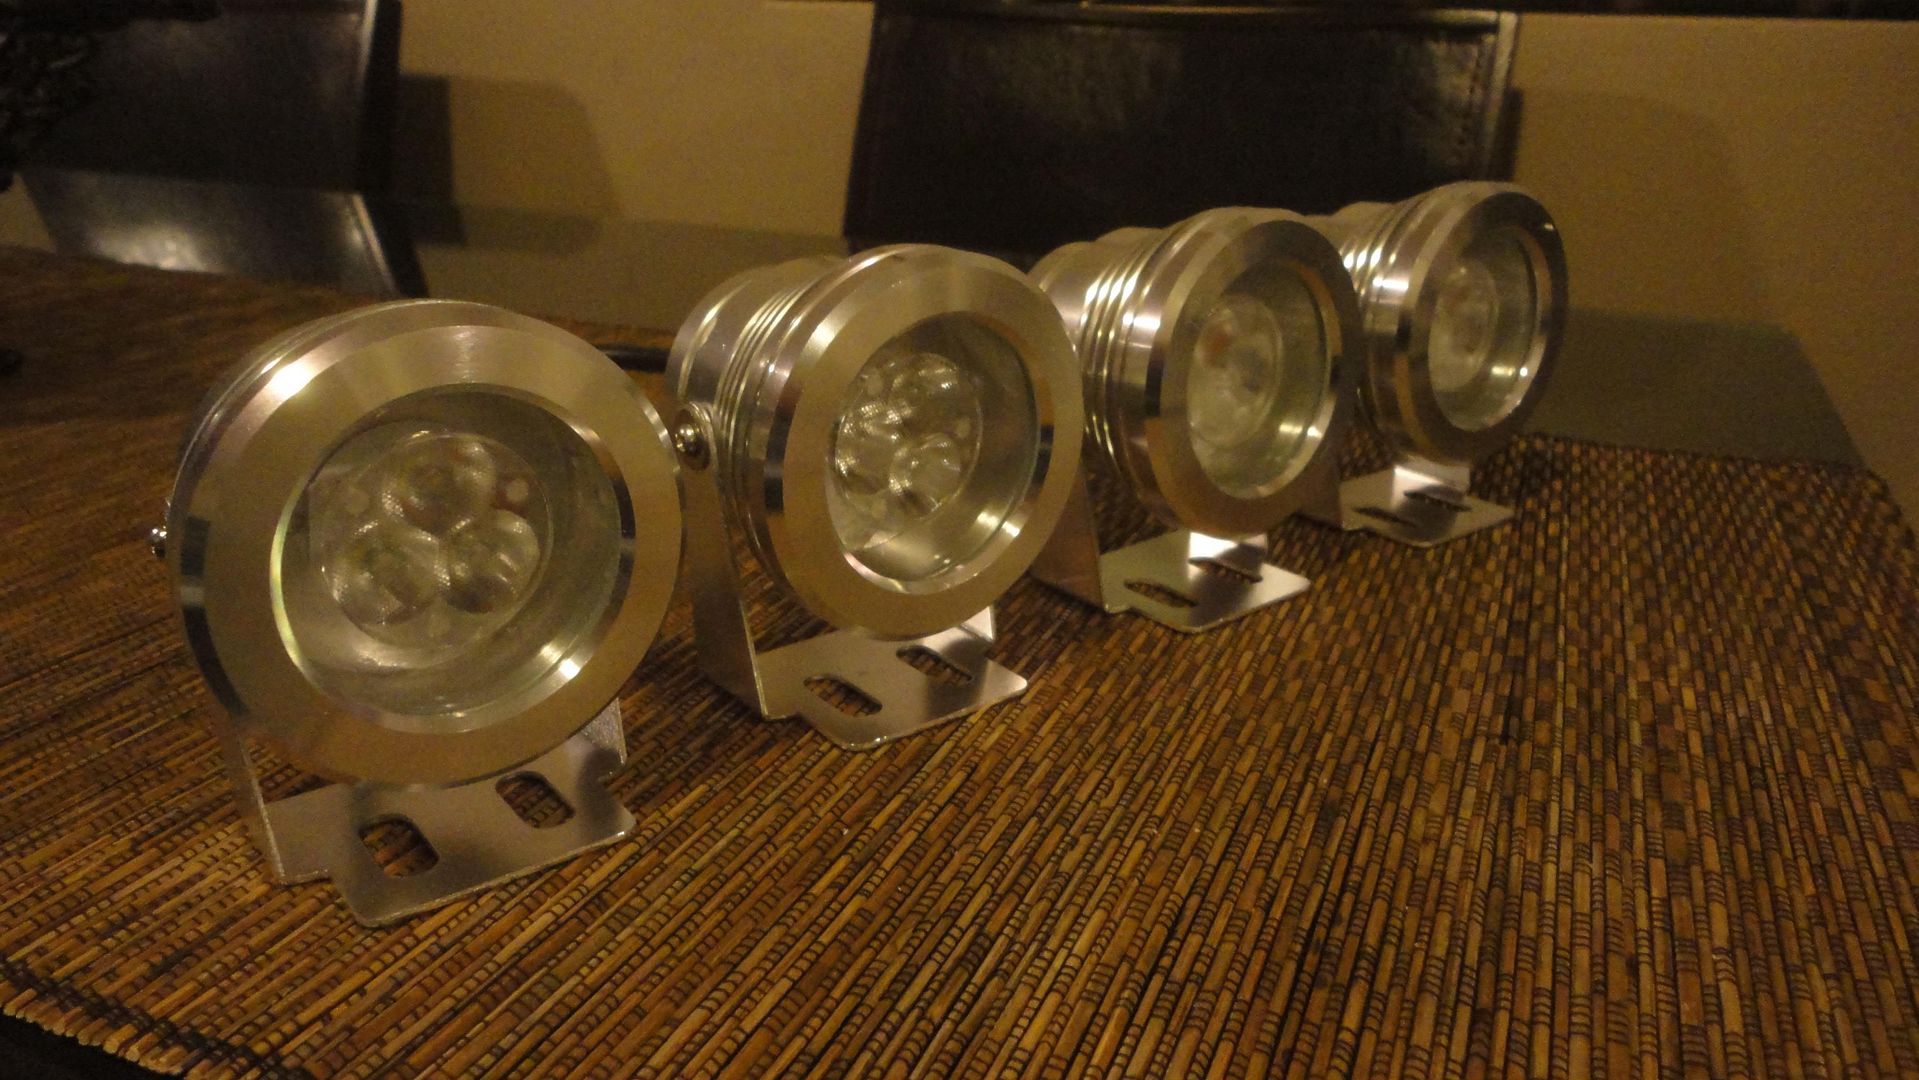
I have made some LED spotlights from some parts that are easily available on the net. The build can be done by anyone who can use a soldering iron. The spotlights are meant to be waterproof as they use silicon grommets around each removable piece but I am yet to test this.
Each spotlight uses 30W of power. Each spotlight contains 3x10W Cree XML LEDs. As I have 4 of these, thats a total of 120W of power. If you go off the spec sheet for the Cree XML LEDs, this will produce approx. 12000 Lumens of light. This is close to the 40" LED Bar from BajaDesigns which cost $1080USD, and as they claim, is equivelant to 4 HIDs.
The cost for my 4 spotlights is close to $300AUD.
Parts required:
Aluminium Housing
6-18V 10W LED Driver
3UP Cree XML LED
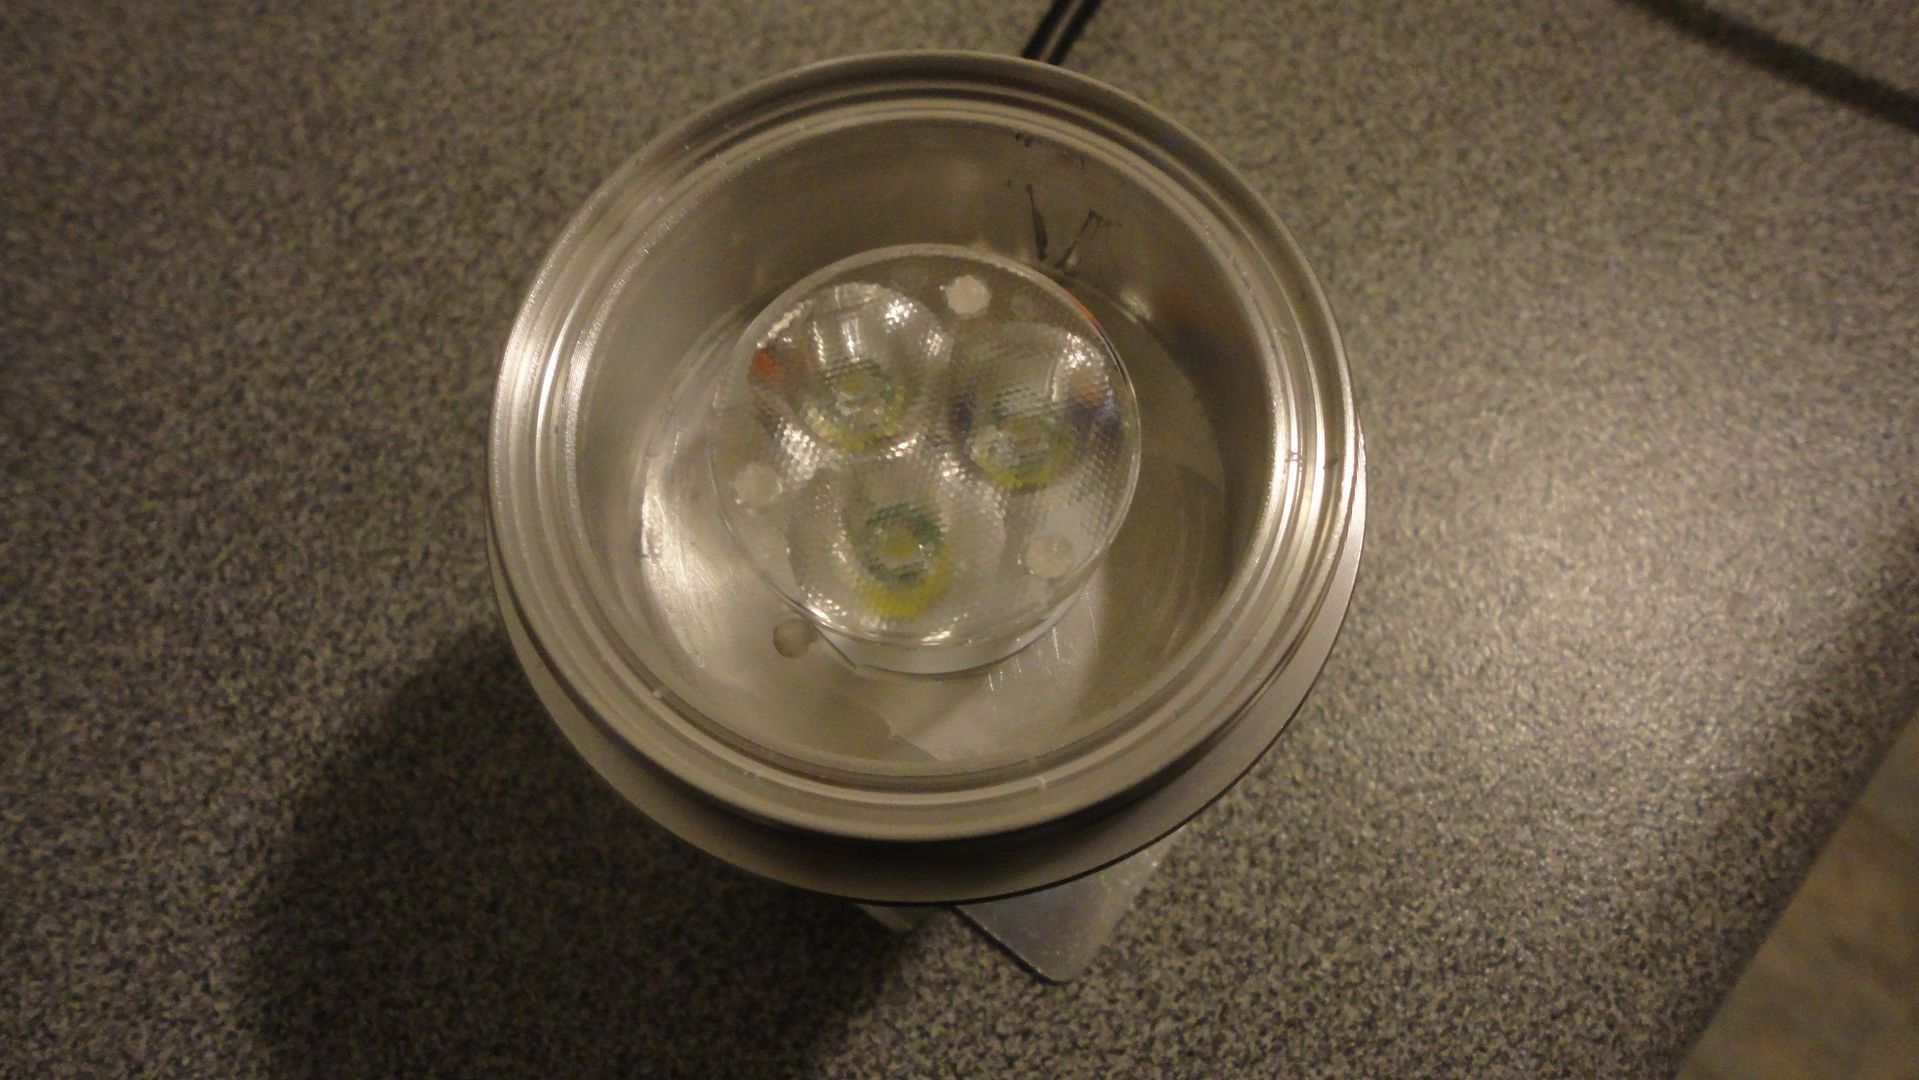
3UP Cree XML LED Optic I strongly suggest only using the Cute-3-SS-XM±9.5° as the other are too wide for spotlights (I made that mistake)
Thermal Adhesive
Heatshrink
Build guide
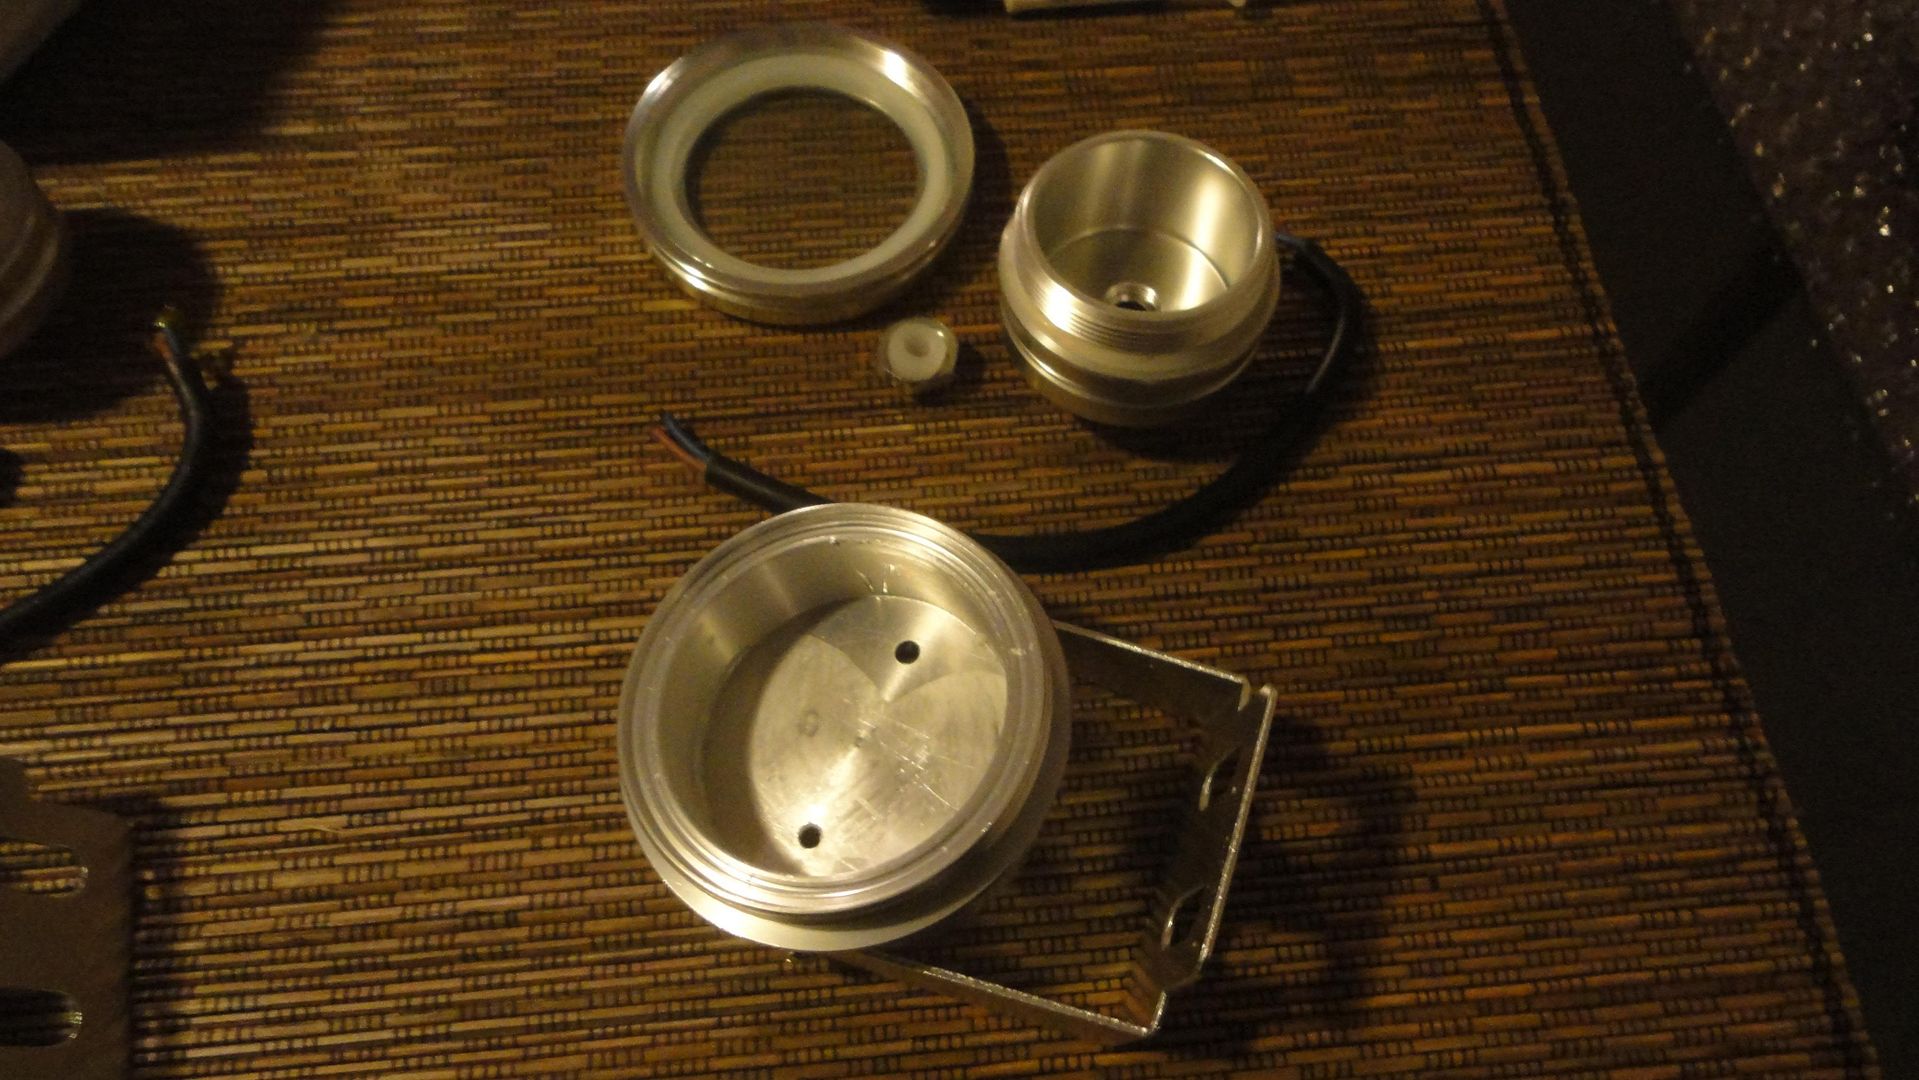
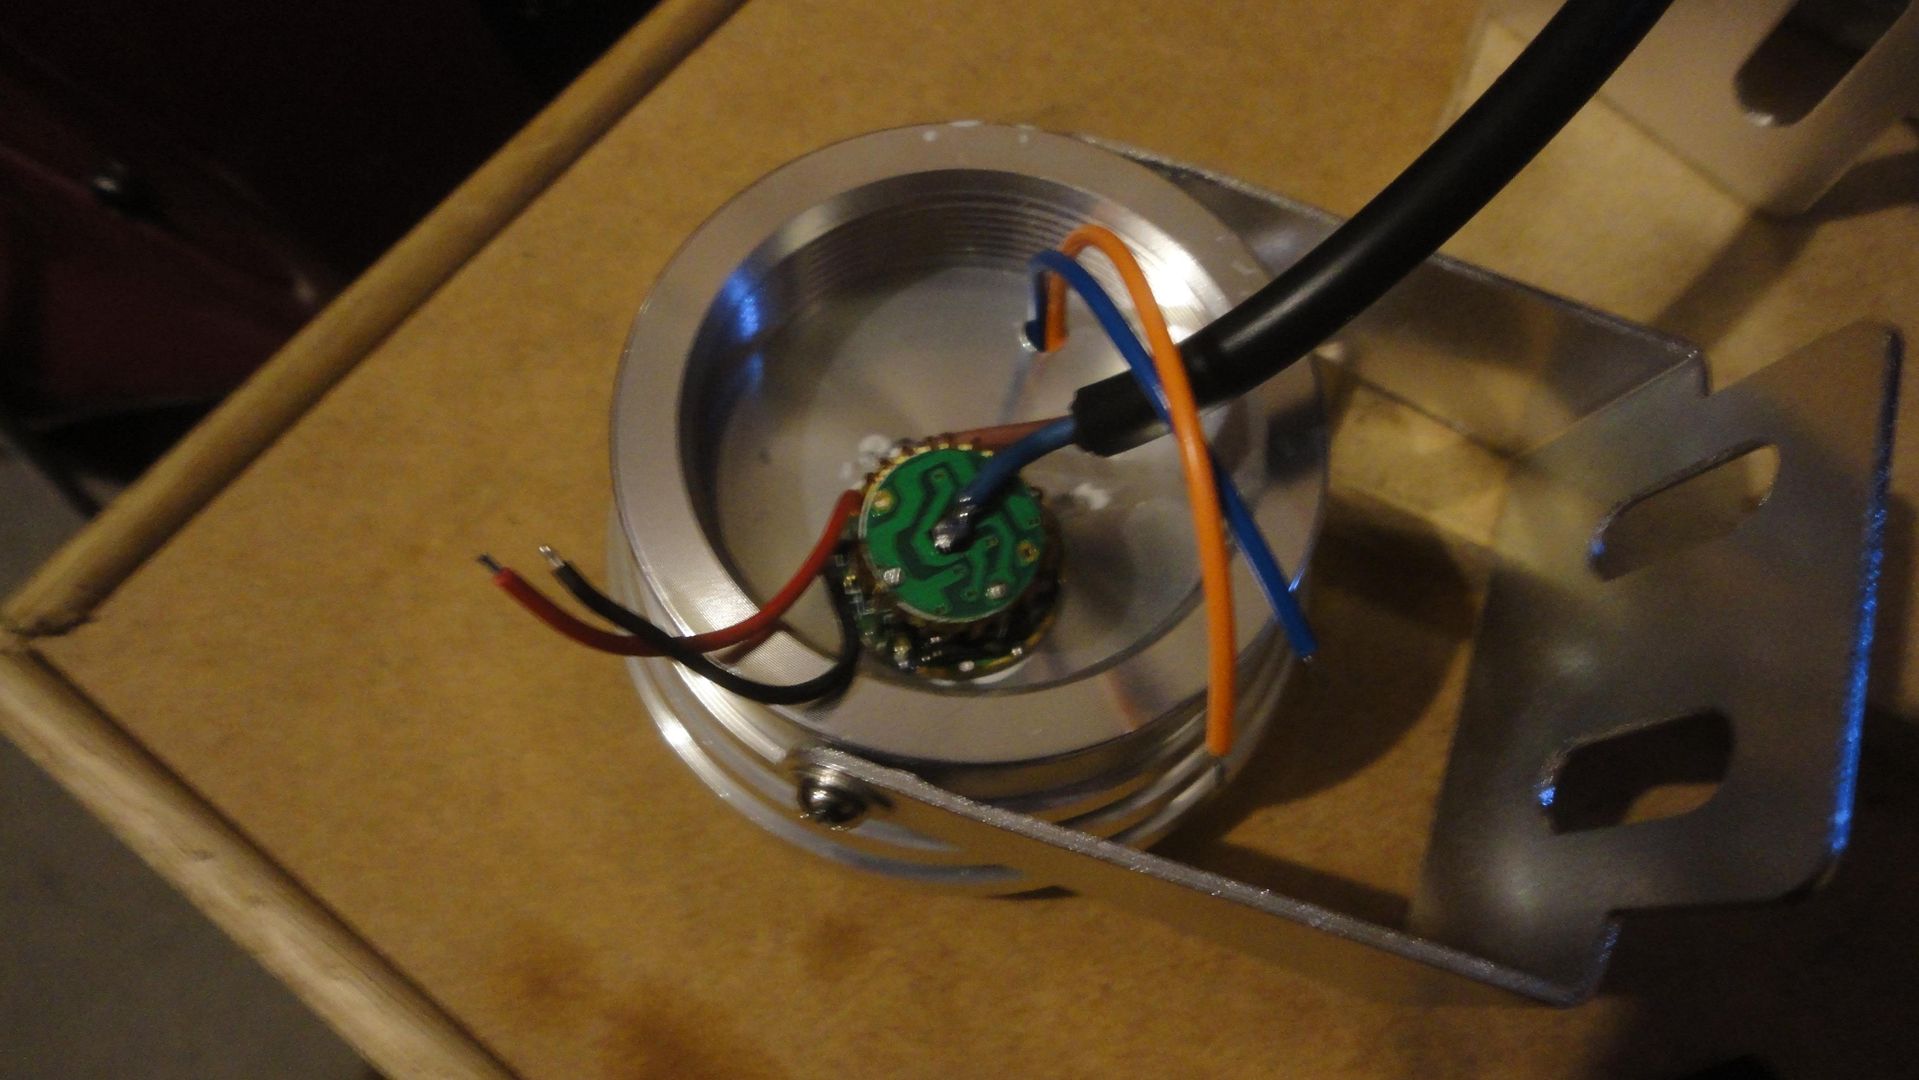
Disassemble the light, remove the LED and driver
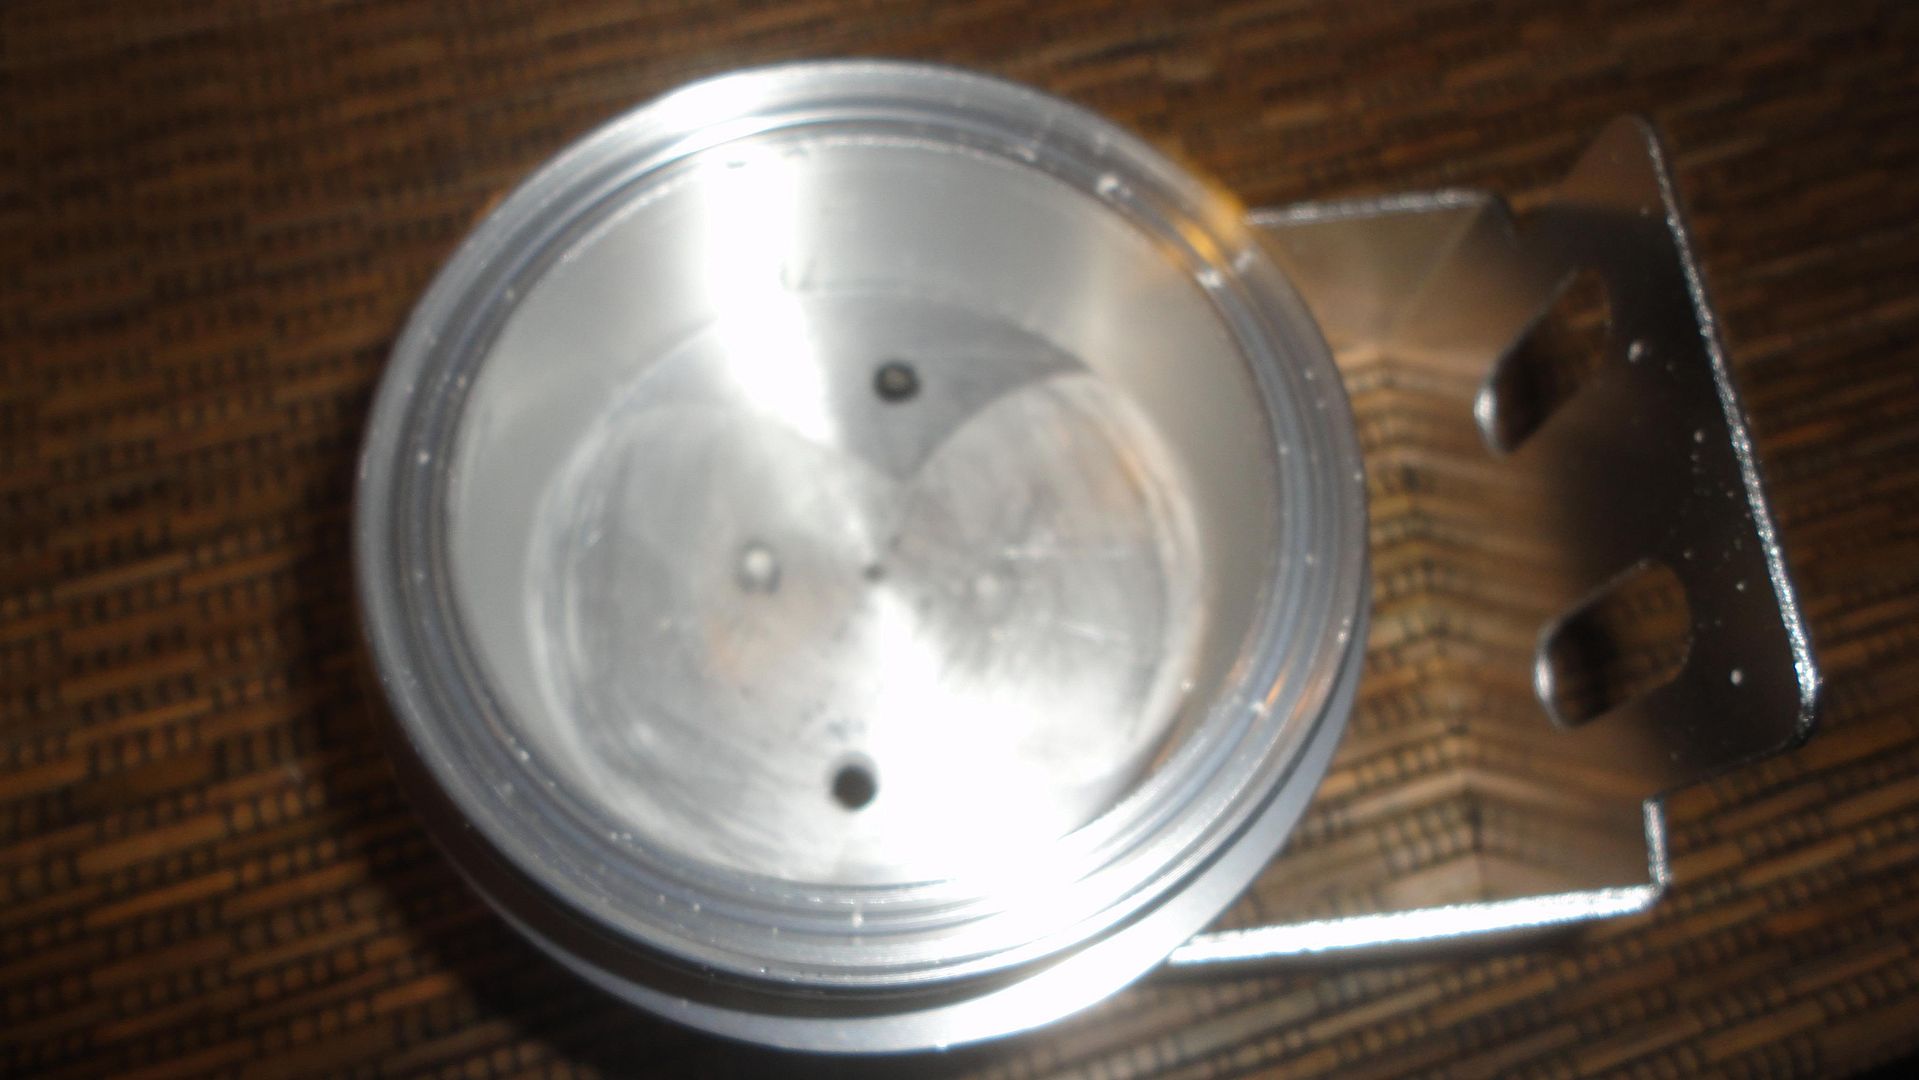
Clean the casing of the old thermal paste. (A razor was used to scrap the old paste).
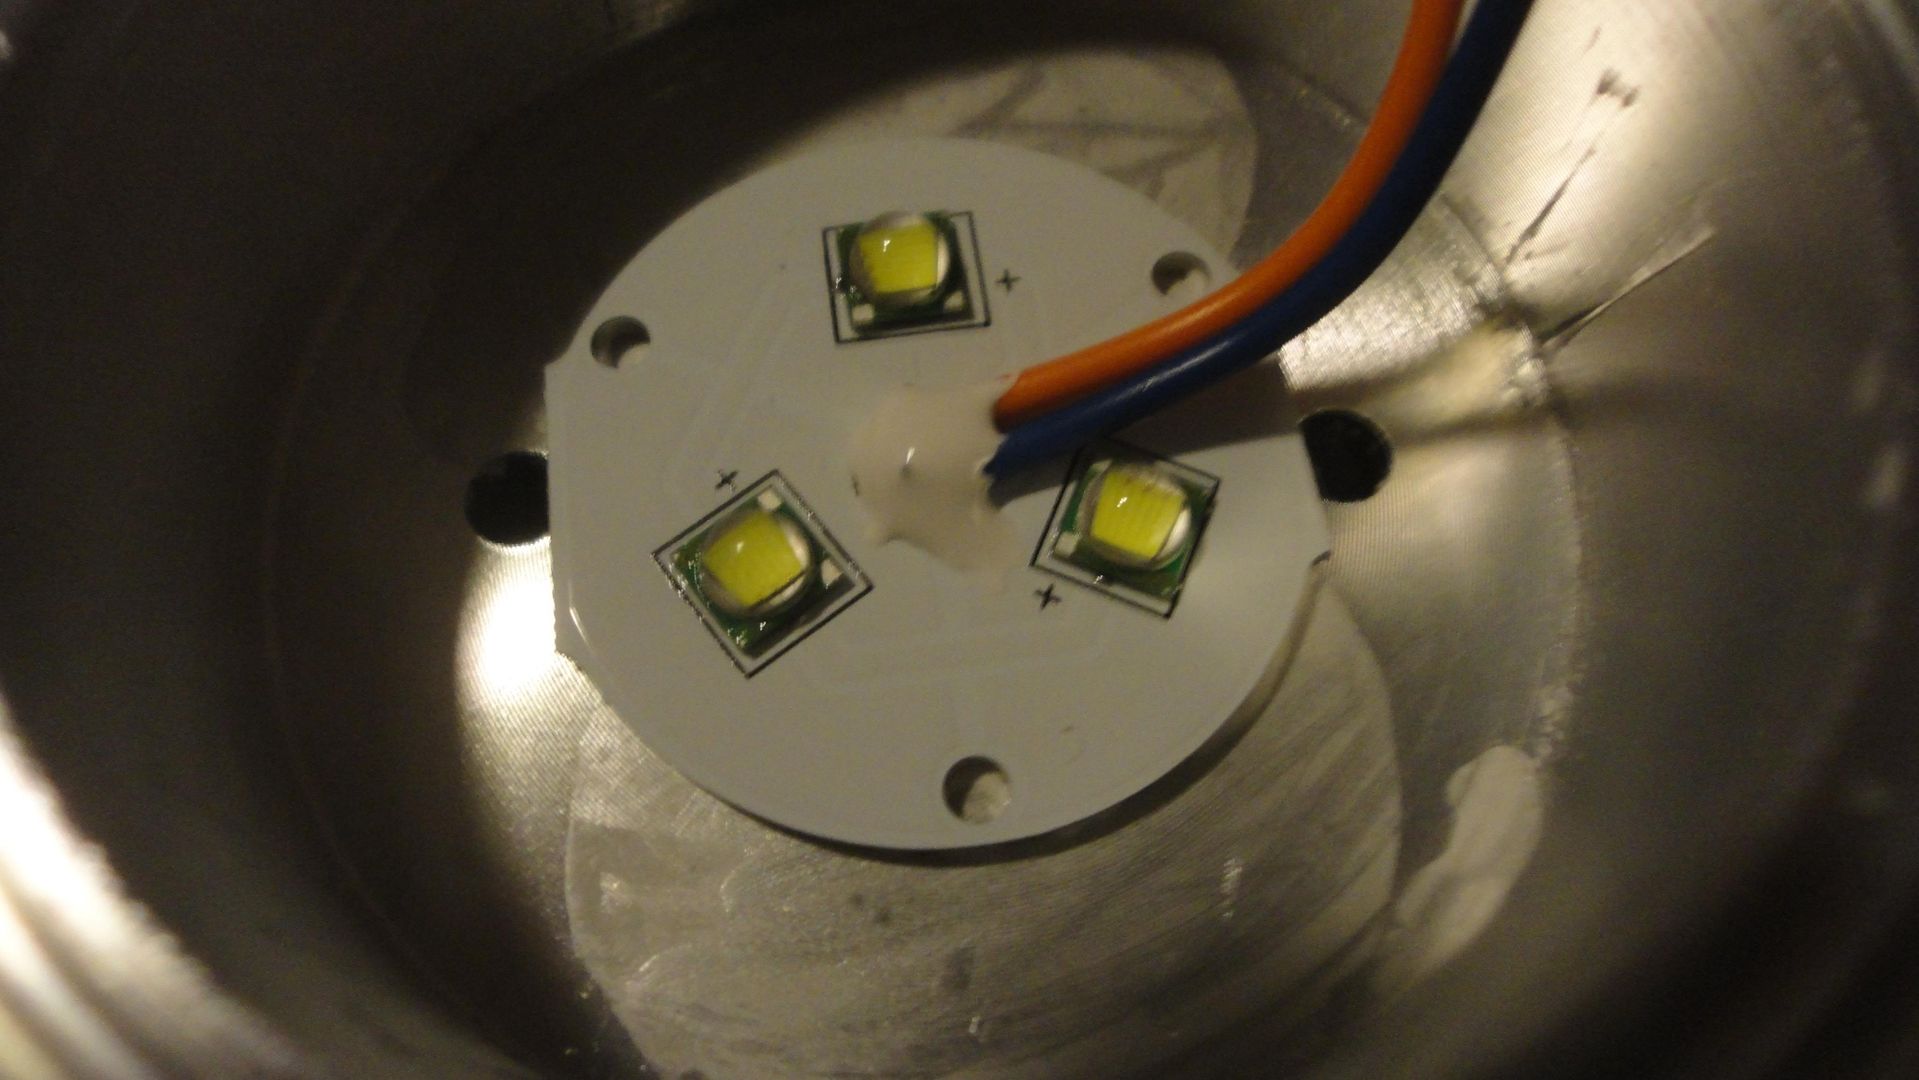
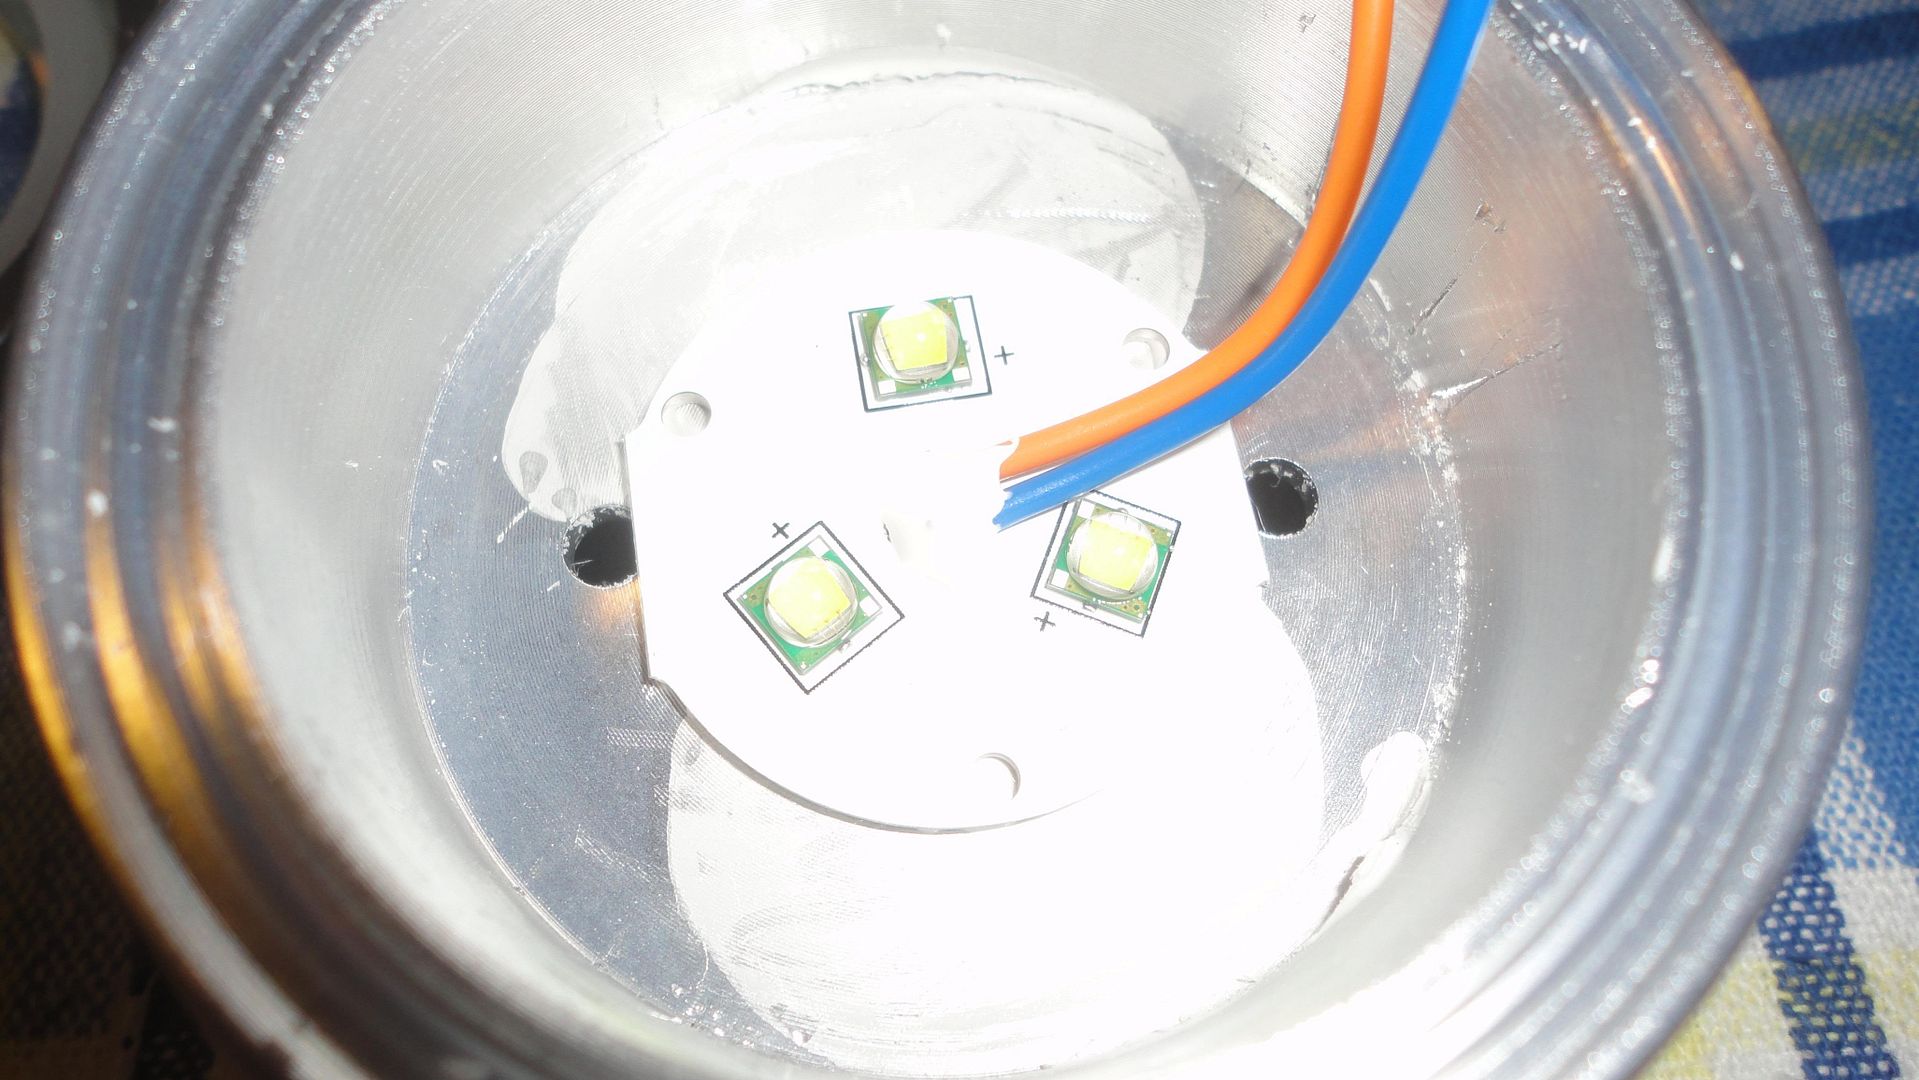
Solder the wires to the LEDs
Attach the LED to the housing using thermal adhesive. Use remaining thermal adhesive around the solder joints to prevent them from touching or coming loose
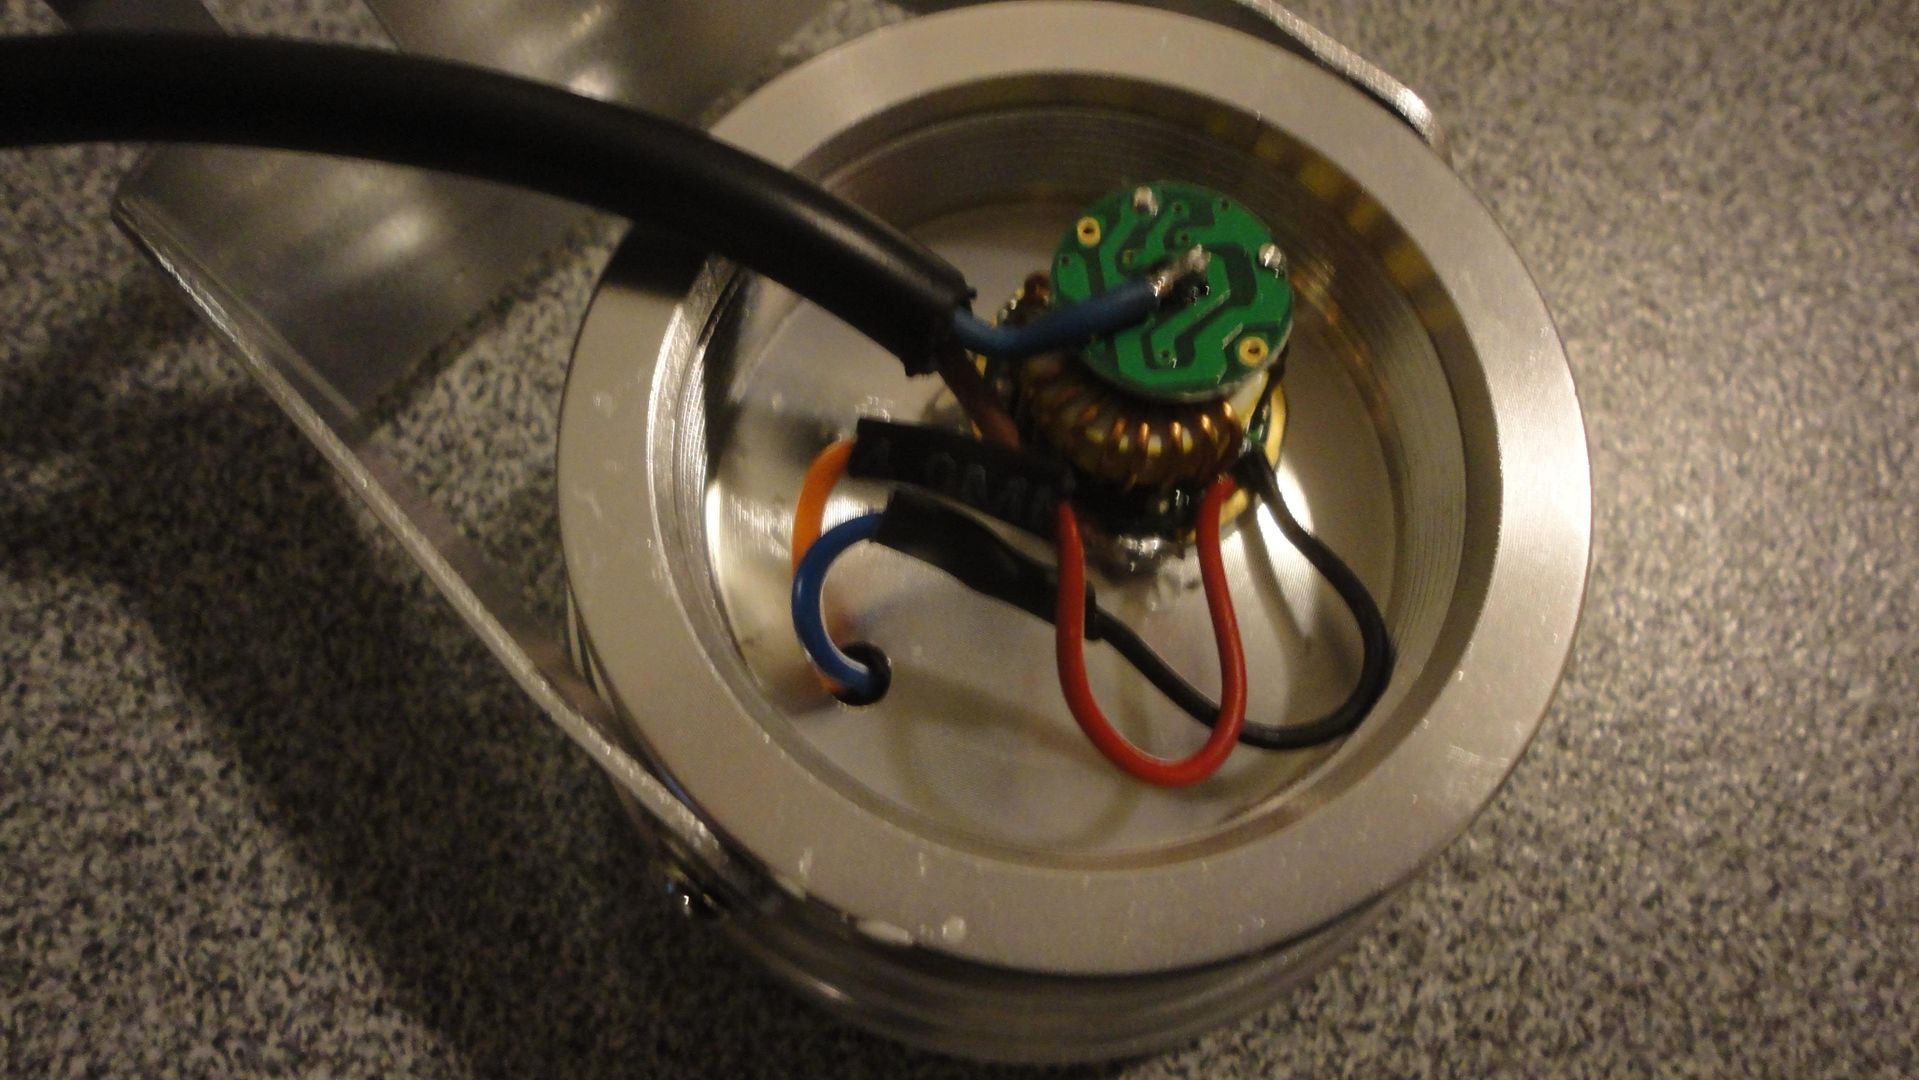
Solder the power cord to the LED driver before soldering the driver to the LED housing. When mounting the driver, ensure it is not mounted too close to the wall as the back housing will not screw closed properly.
Cut some heat shrink and put this around the LED wires. Solder the LED+ and LED- which are pre attached to the LED driver to the 2 wires you attached to the LED previously.
Attach the LED optic to the LED and use the thermal paste to hold it permanently in place.
Assemble the LED housing to create the finished product. Repeat the above steps to create as many as required.
Last edit: 25 Apr 2012 15:34 by Sandez. Reason: Fix broken photo links
Please Log in or Create an account to join the conversation.
- Sandez
- Topic Author
- New Member
-

Public
Less
More
- Thank you received: 0
25 Oct 2011 10:51 - 25 Apr 2012 15:36 #24434
by Sandez
Replied by Sandez on topic Re: DIY LED Spotlights - Complete build guide
Vehicle Installation
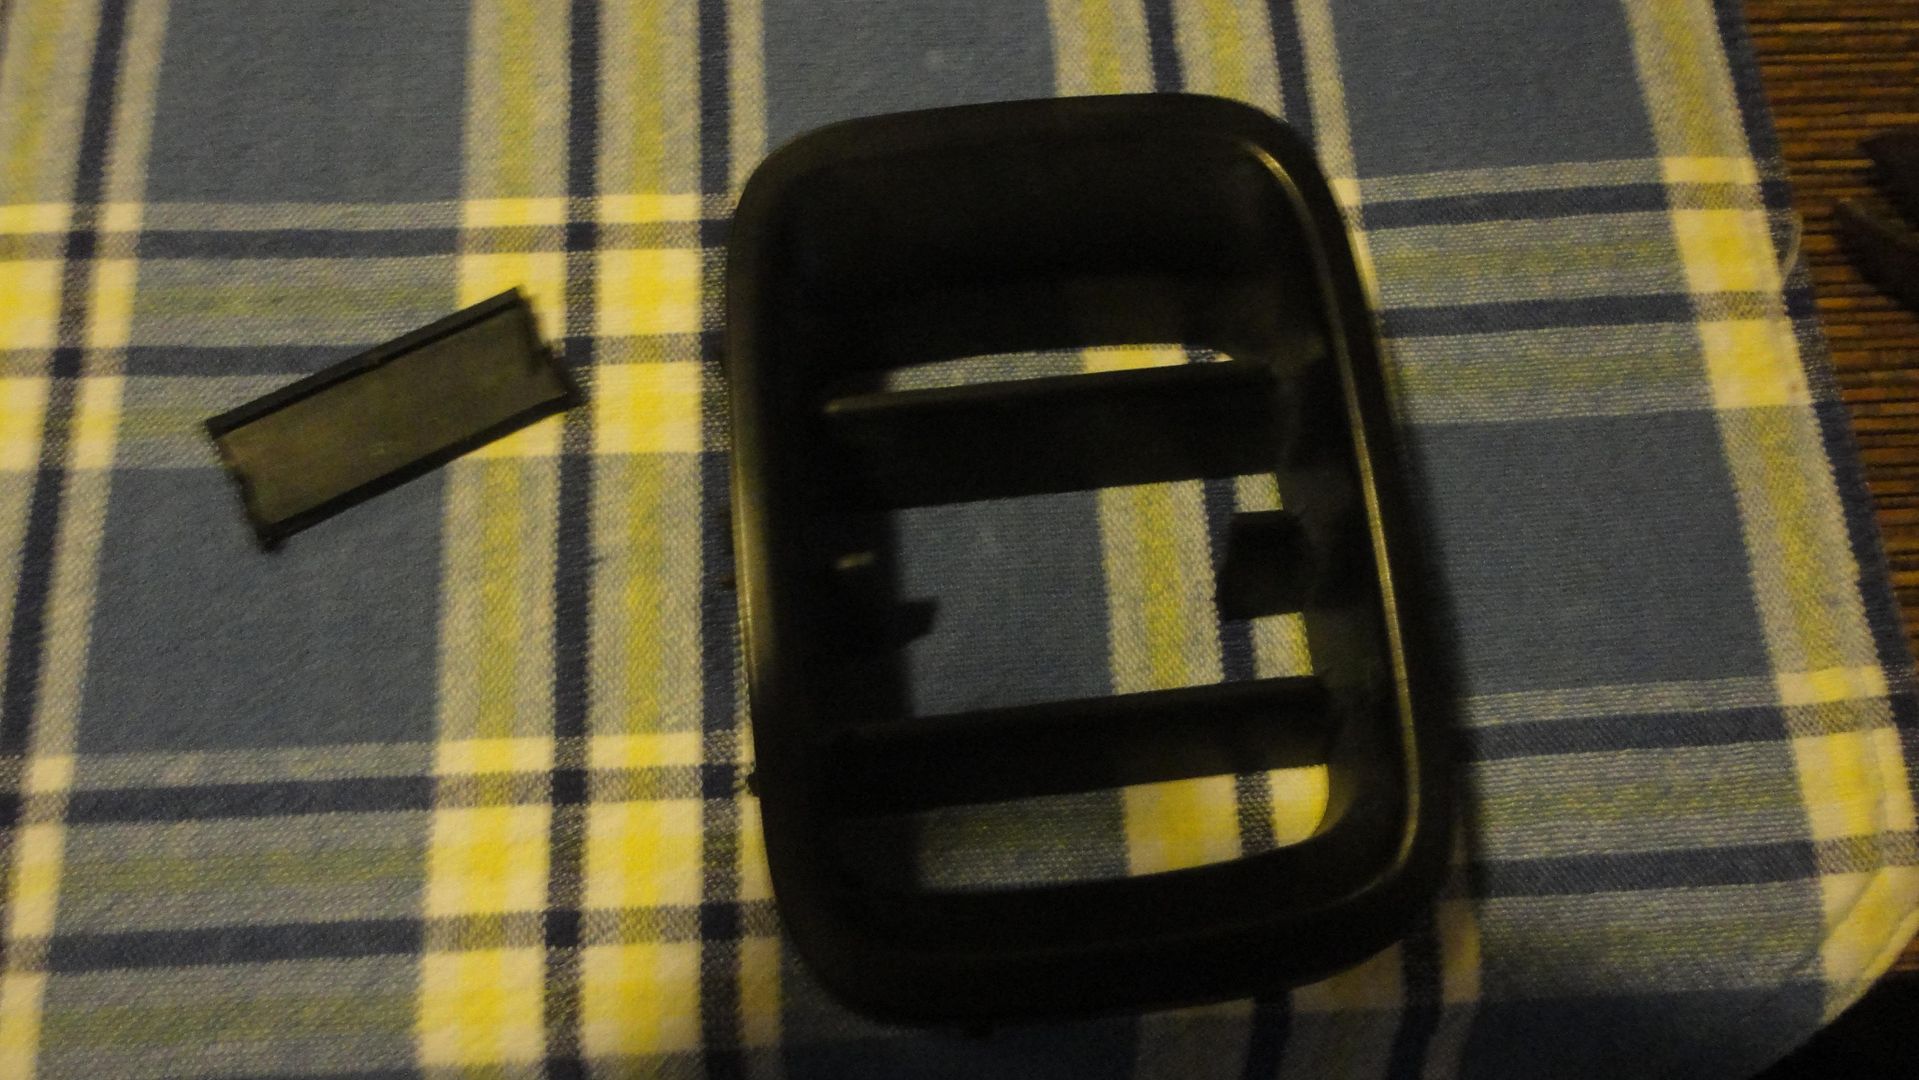
Remove the front grills and cut out all 3 fins. File down the excess so it looks neater (not yet done in photo)
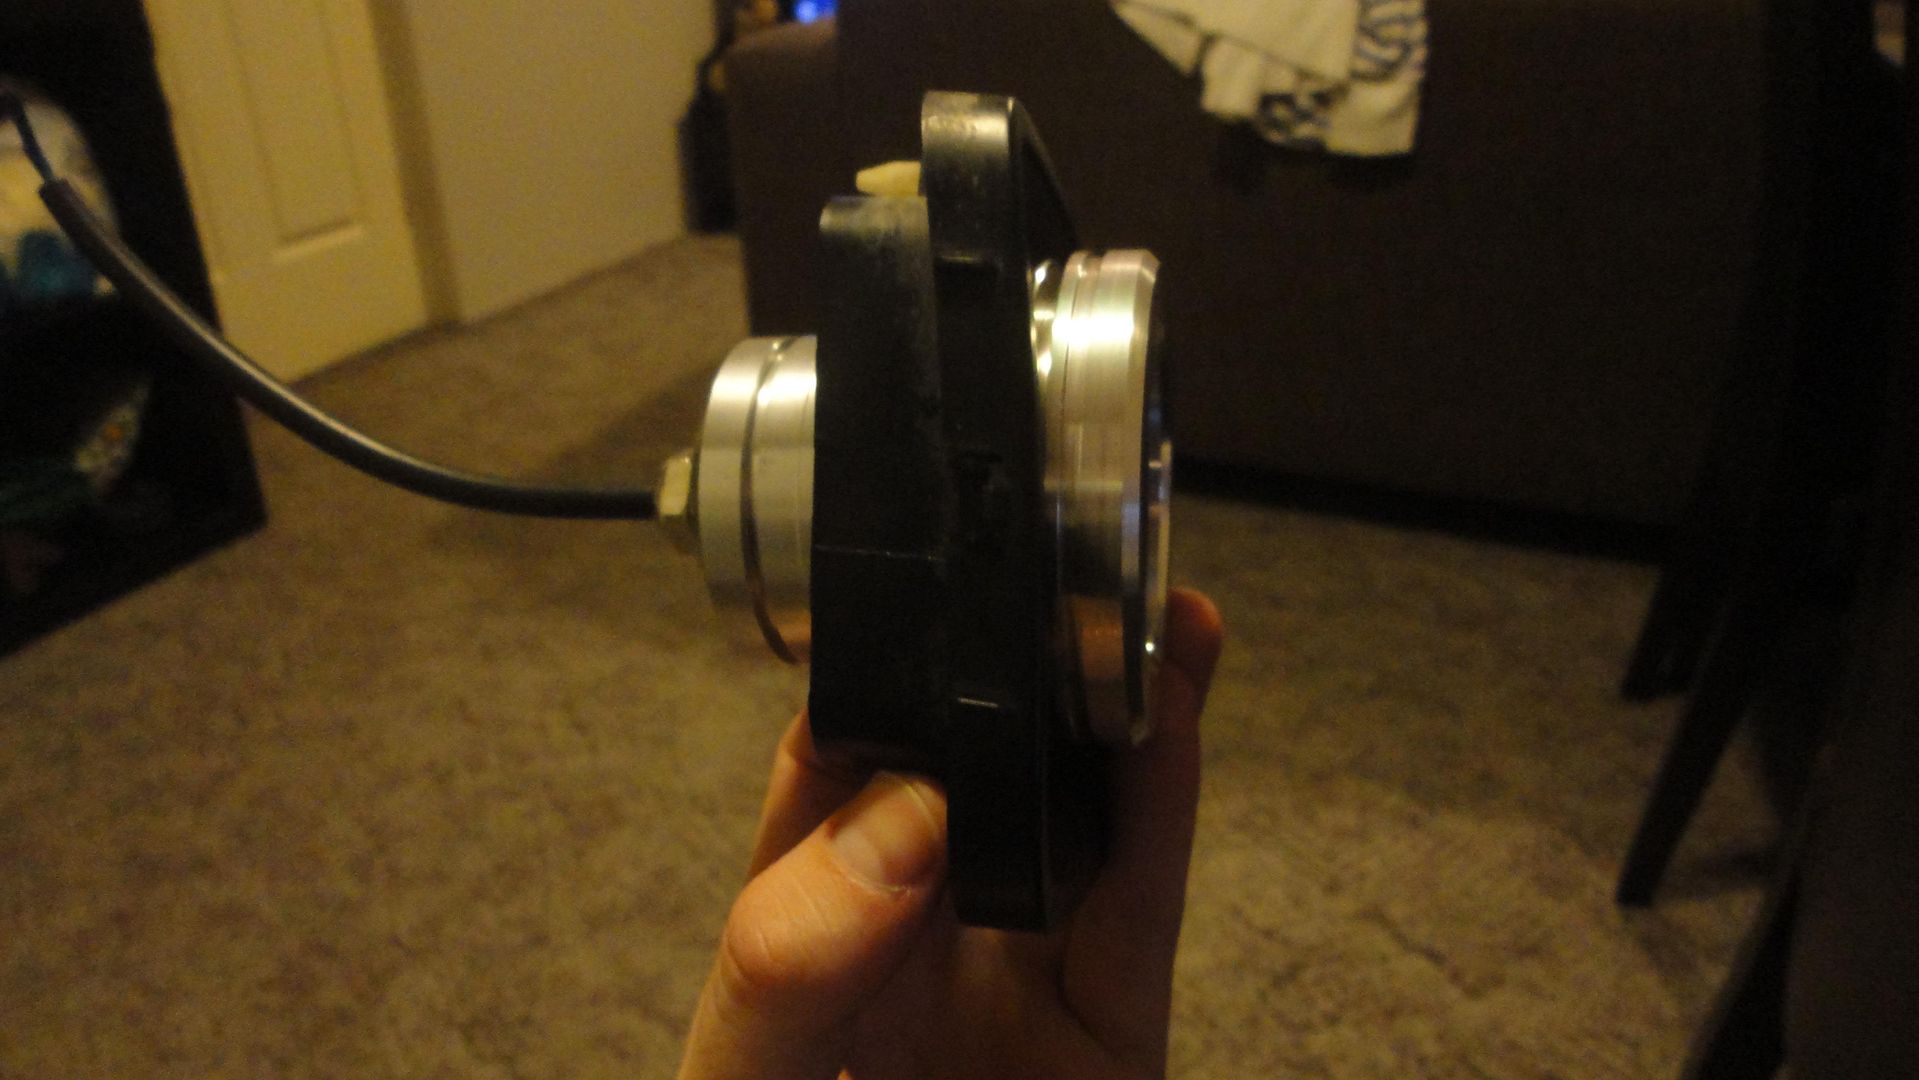
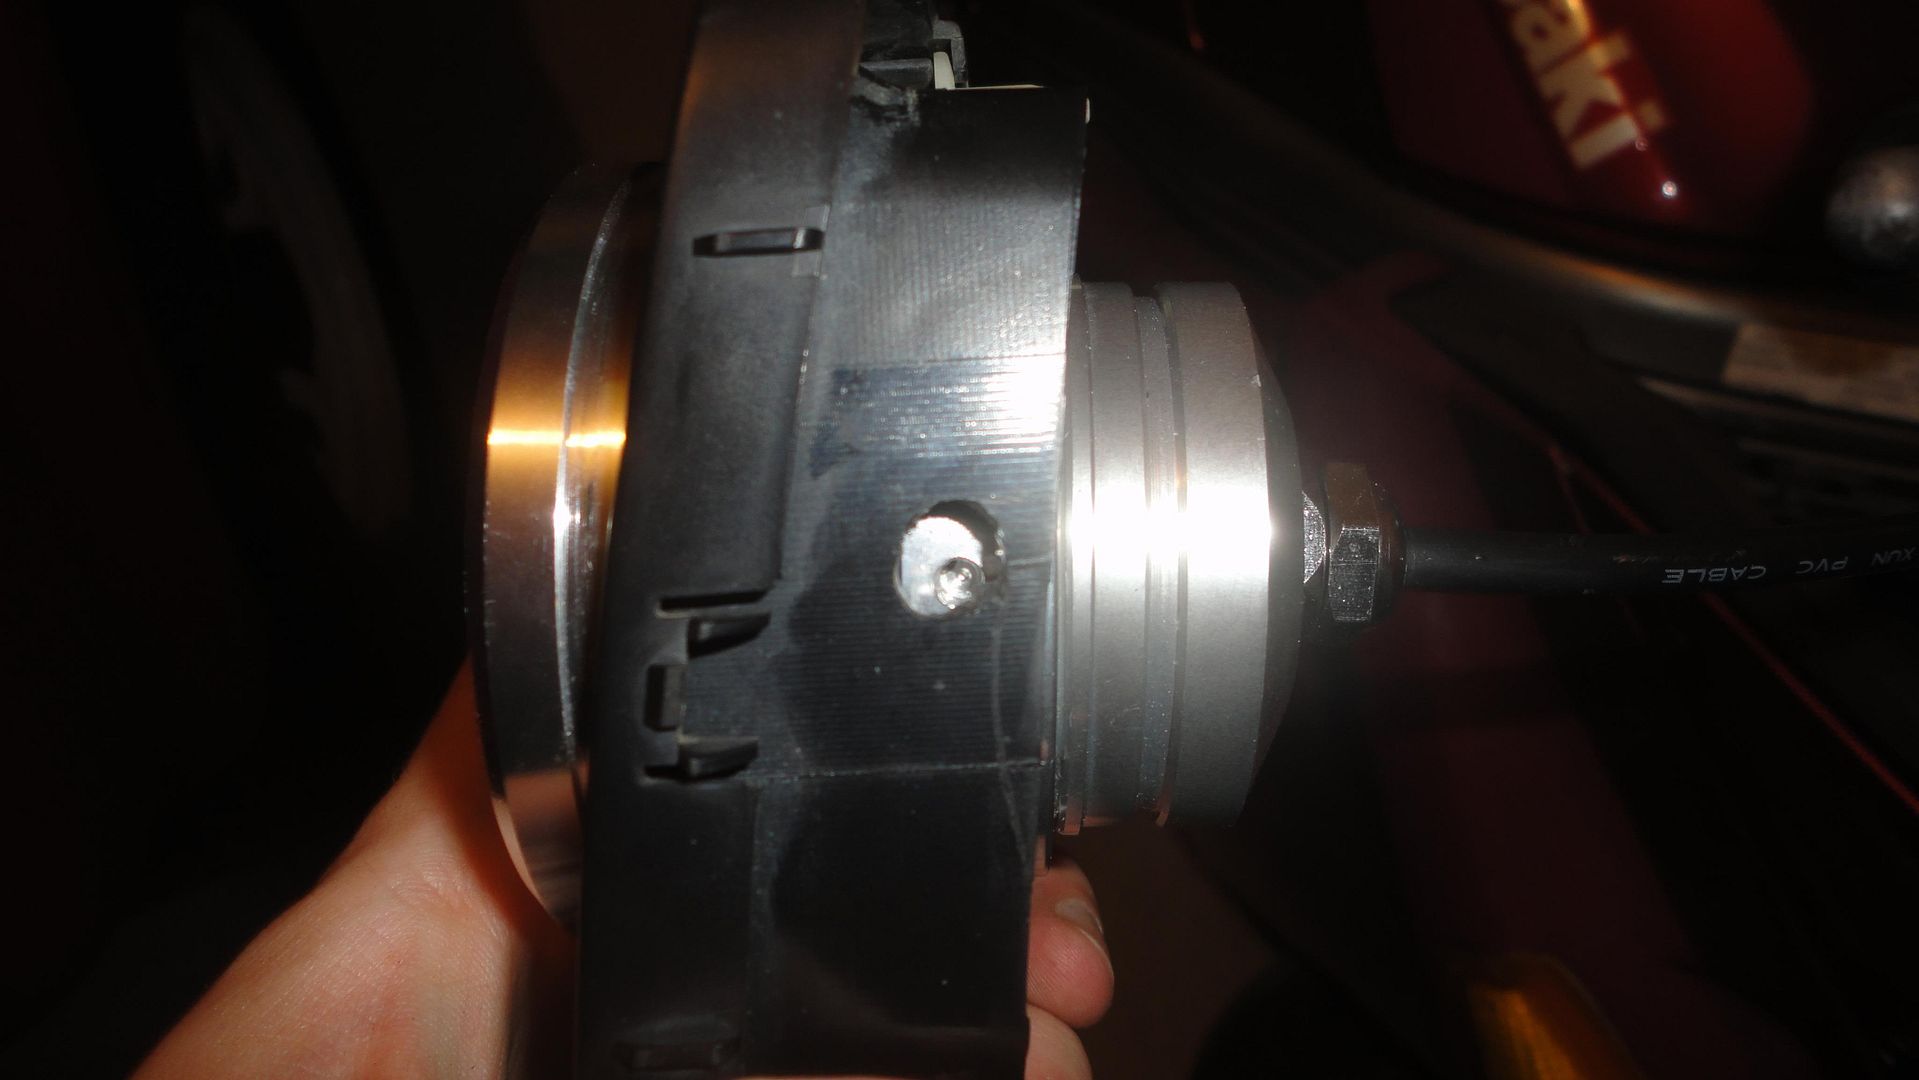
Insert the spotlight into the grill so that the last fin on the spotlight holds the spotlight in place (bit hard to see in the photo).
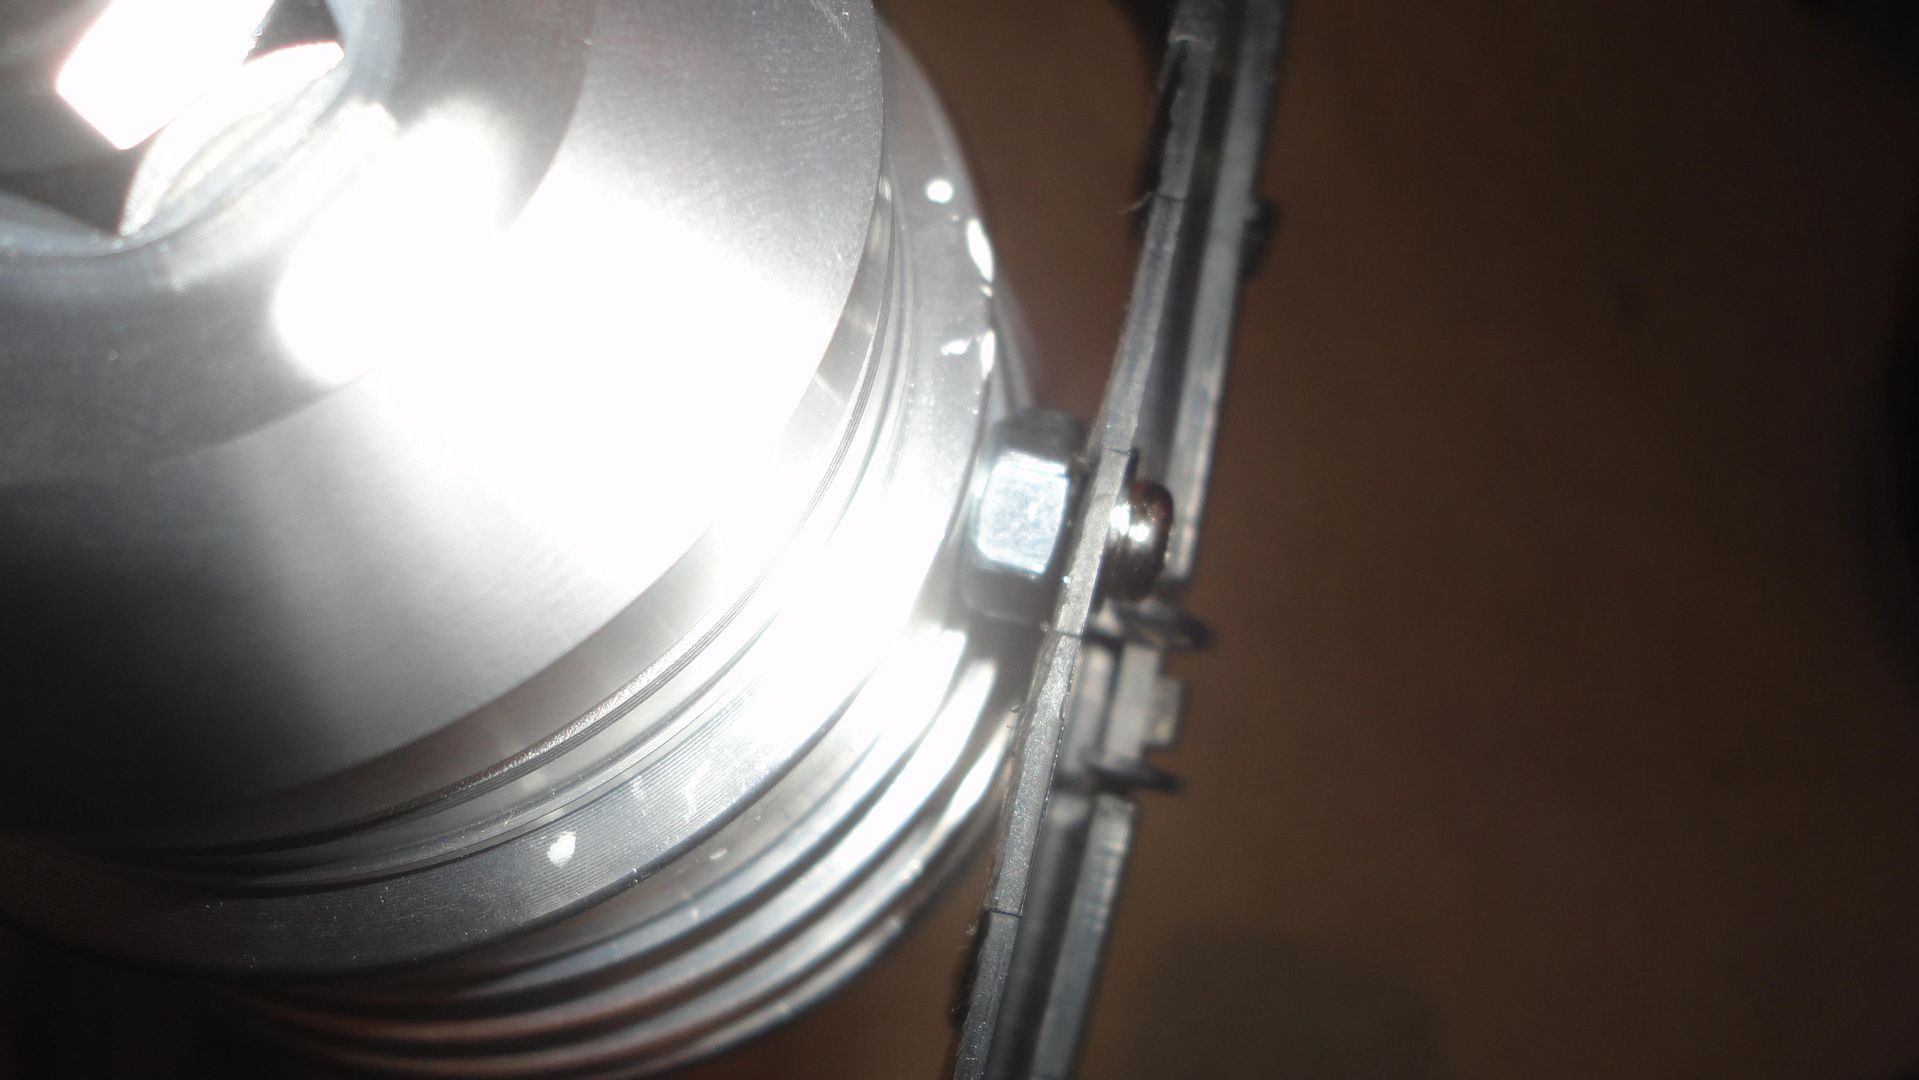
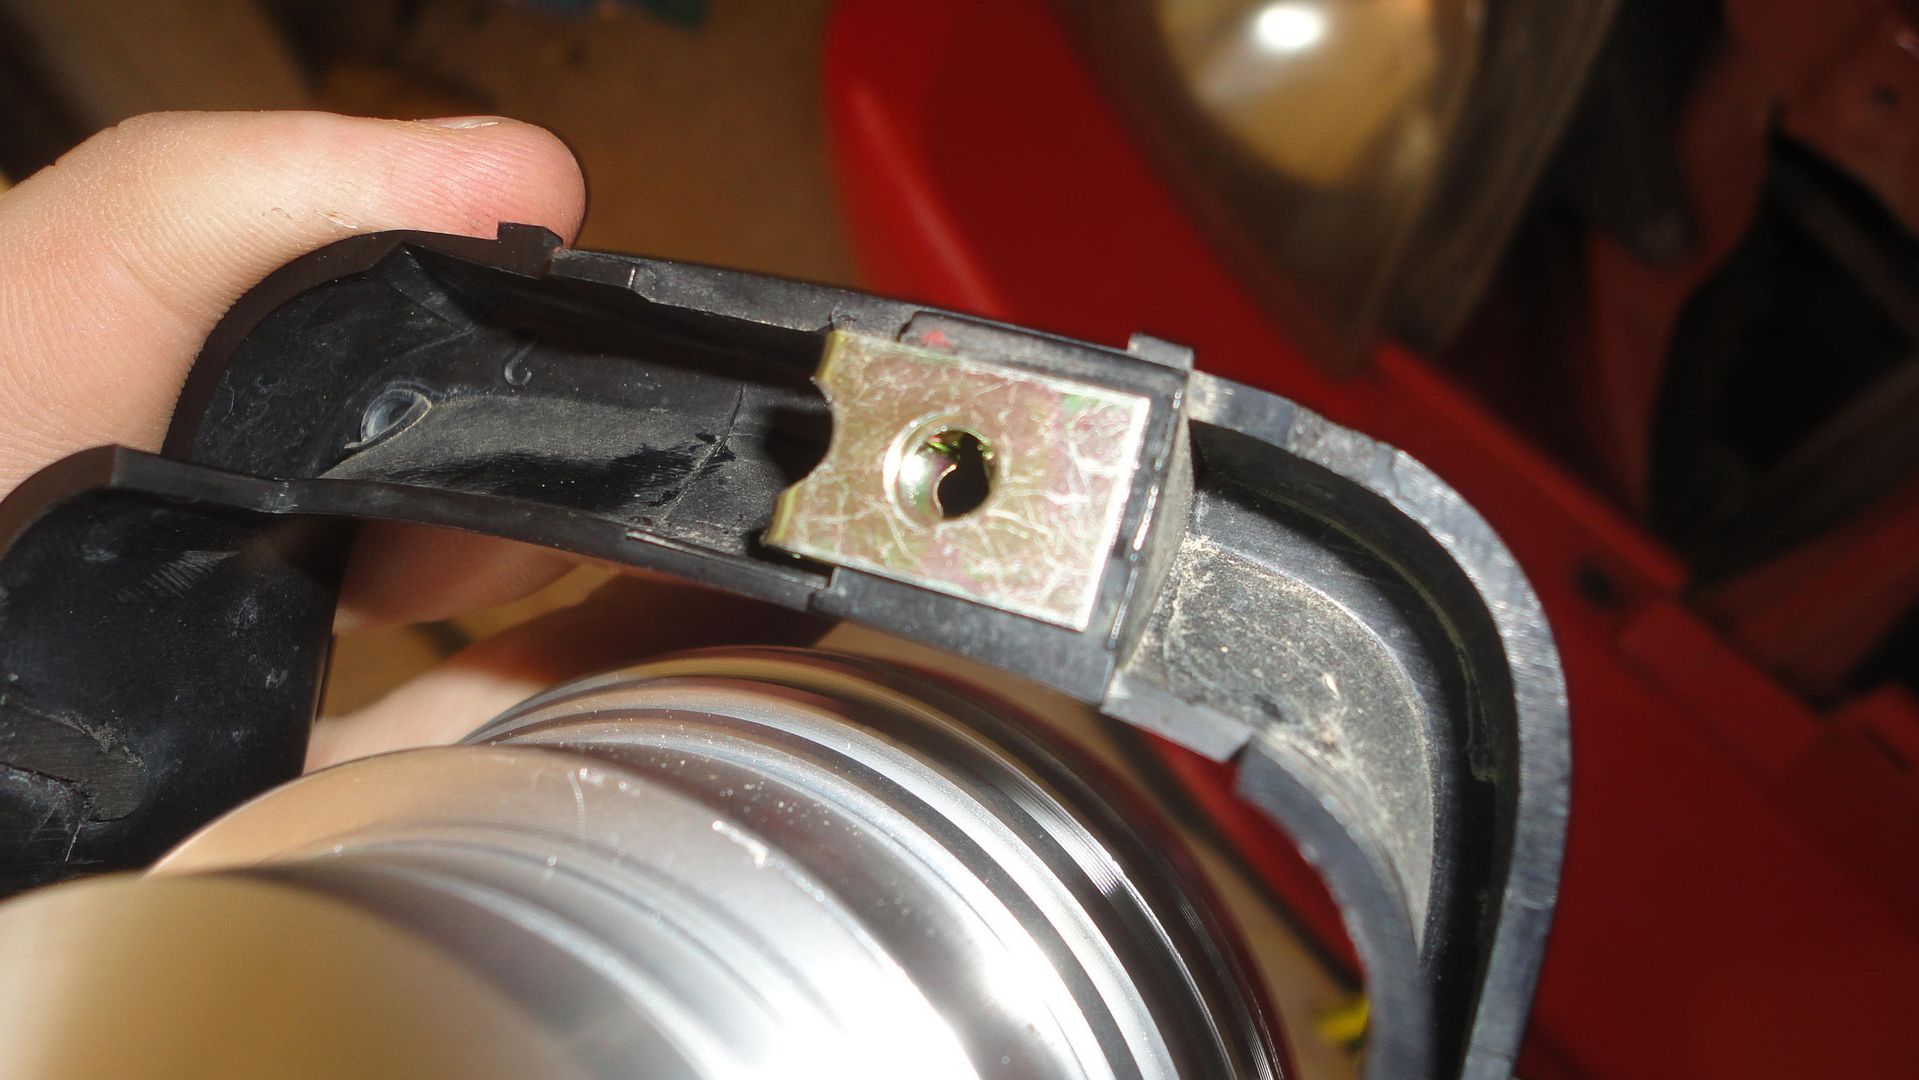
Drill a hole on either side of the grill so that a screw can be screwed into the pre-existing holes on the housing.
Place a nut or several washers inbetween housing and the grill, where the screw goes in, so that when tightening the screw it doesnt compress the grill in too far.
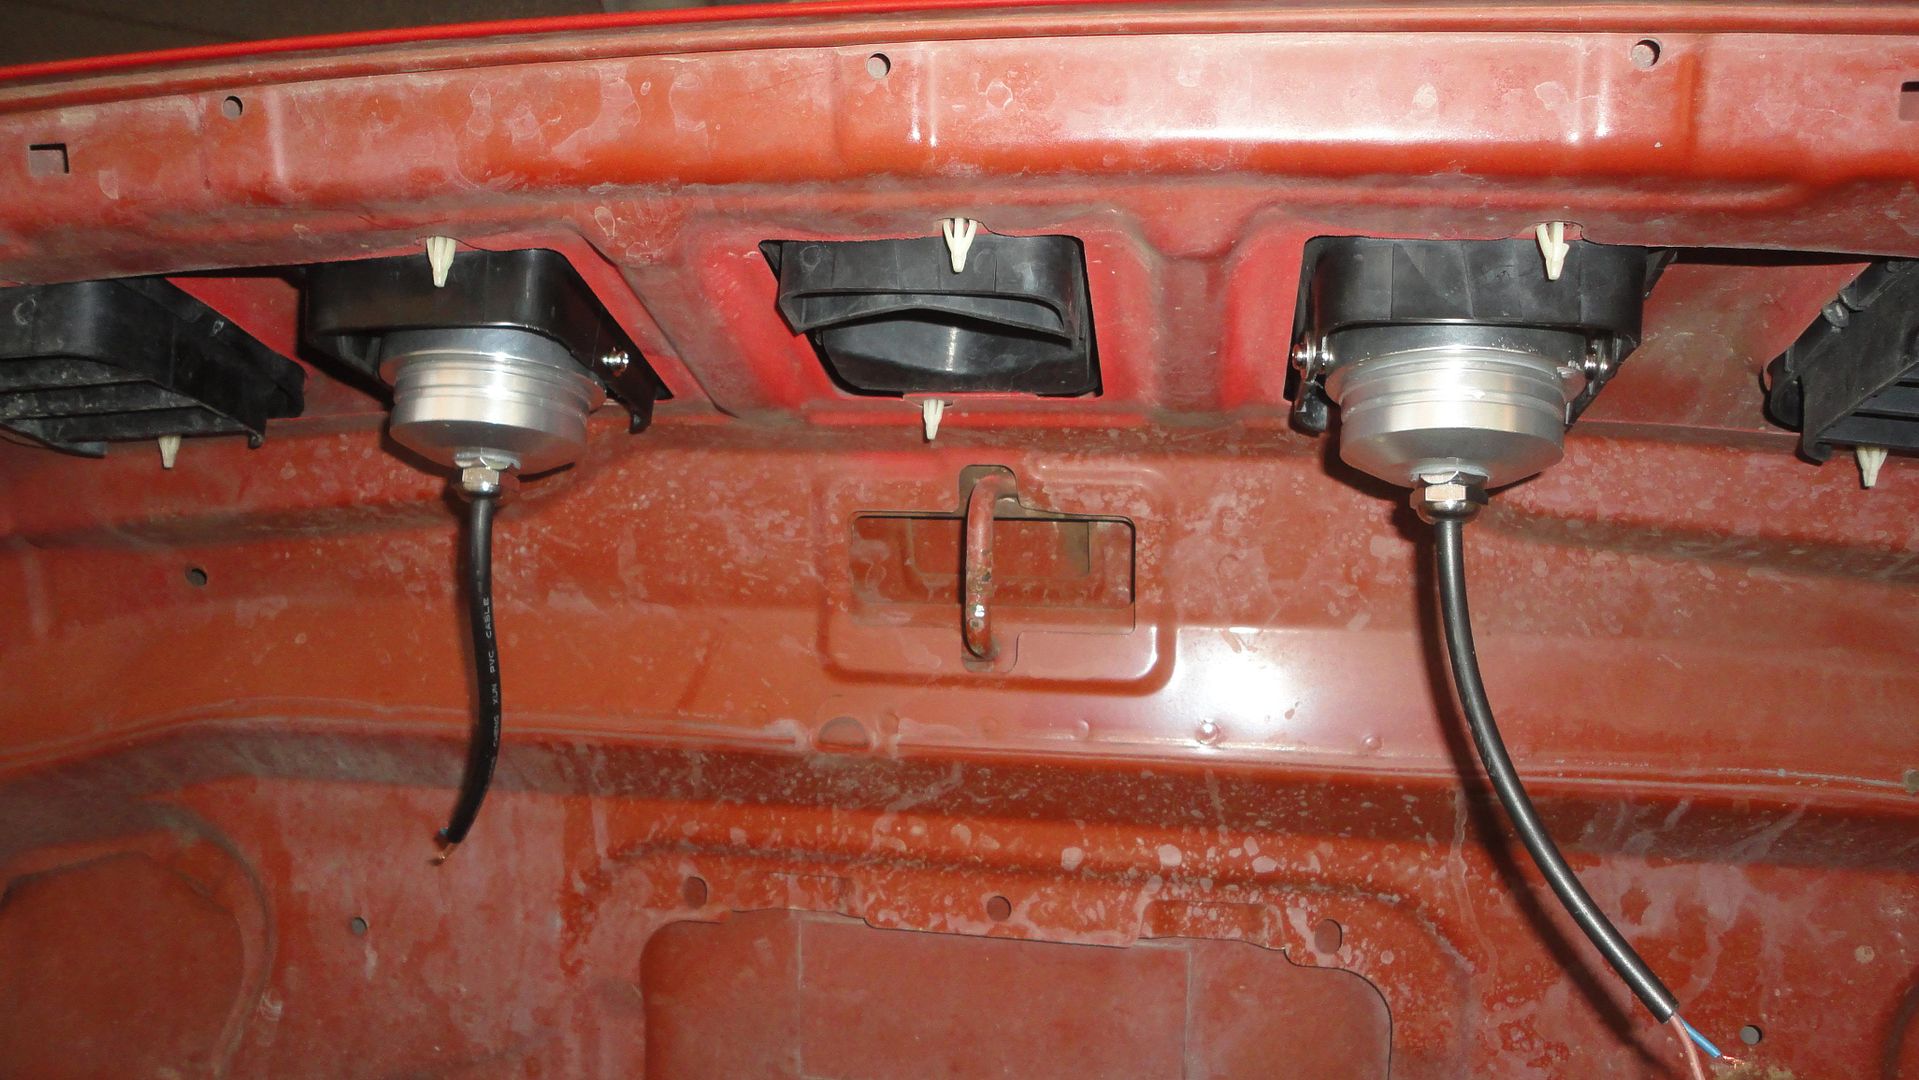
Replace the plastic pieces that hold the grill to the bonnet with some metal screw in ones. This will ensure the grill and spotlight can't pop out.
Reinstall the grills with the spotlights and run the cable through the bonnet so there are no wiring issues when opening the bonnet.
Connect up the wiring and you are good to go. Up and down adjustments can be made by loosening the screws and adjusting. If you need side by side, you should have a small amount of play by loosening your screws, if not redrill a new hole in the desired spot.
Last edit: 25 Apr 2012 15:36 by Sandez. Reason: Fix broken photo links
Please Log in or Create an account to join the conversation.
- Sandez
- Topic Author
- New Member
-

Public
Less
More
- Thank you received: 0
25 Oct 2011 10:52 - 25 Apr 2012 15:37 #24435
by Sandez
Replied by Sandez on topic Re: DIY LED Spotlights - Complete build guide
Beam Shots
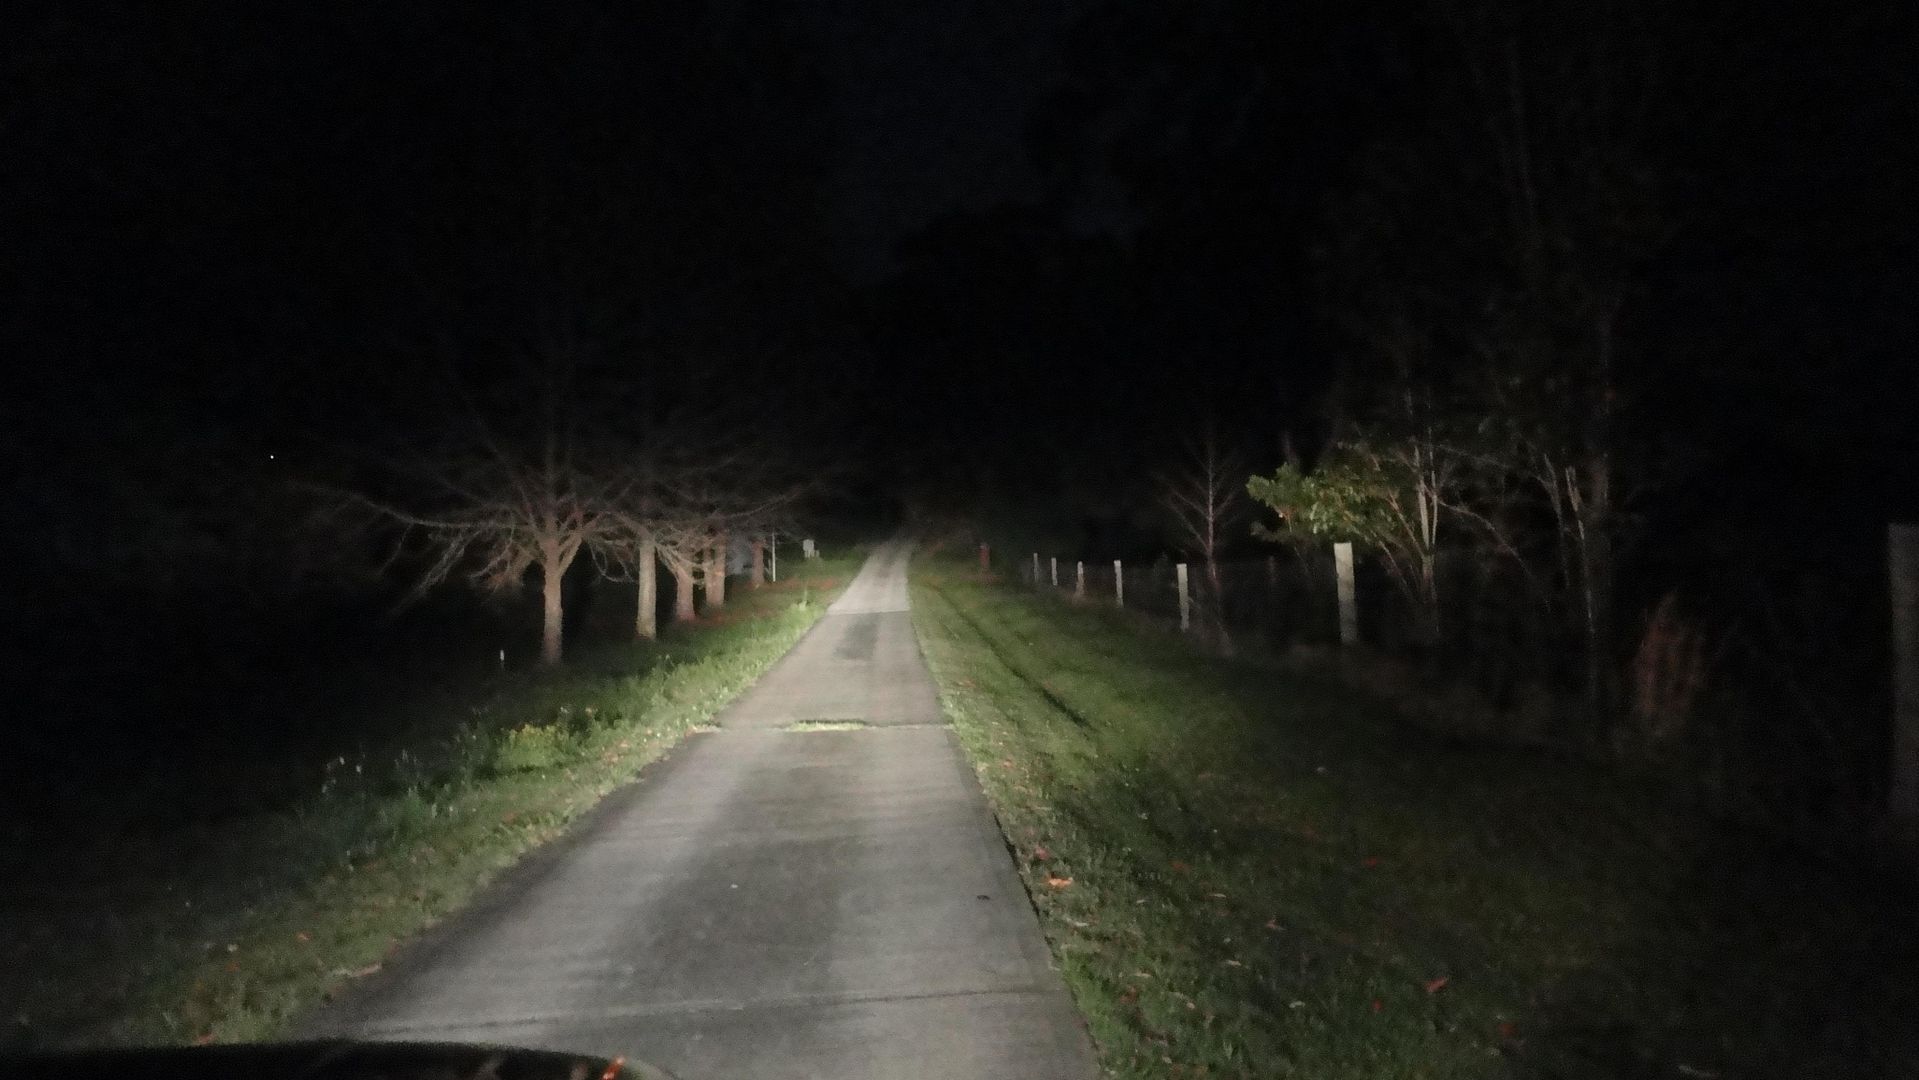
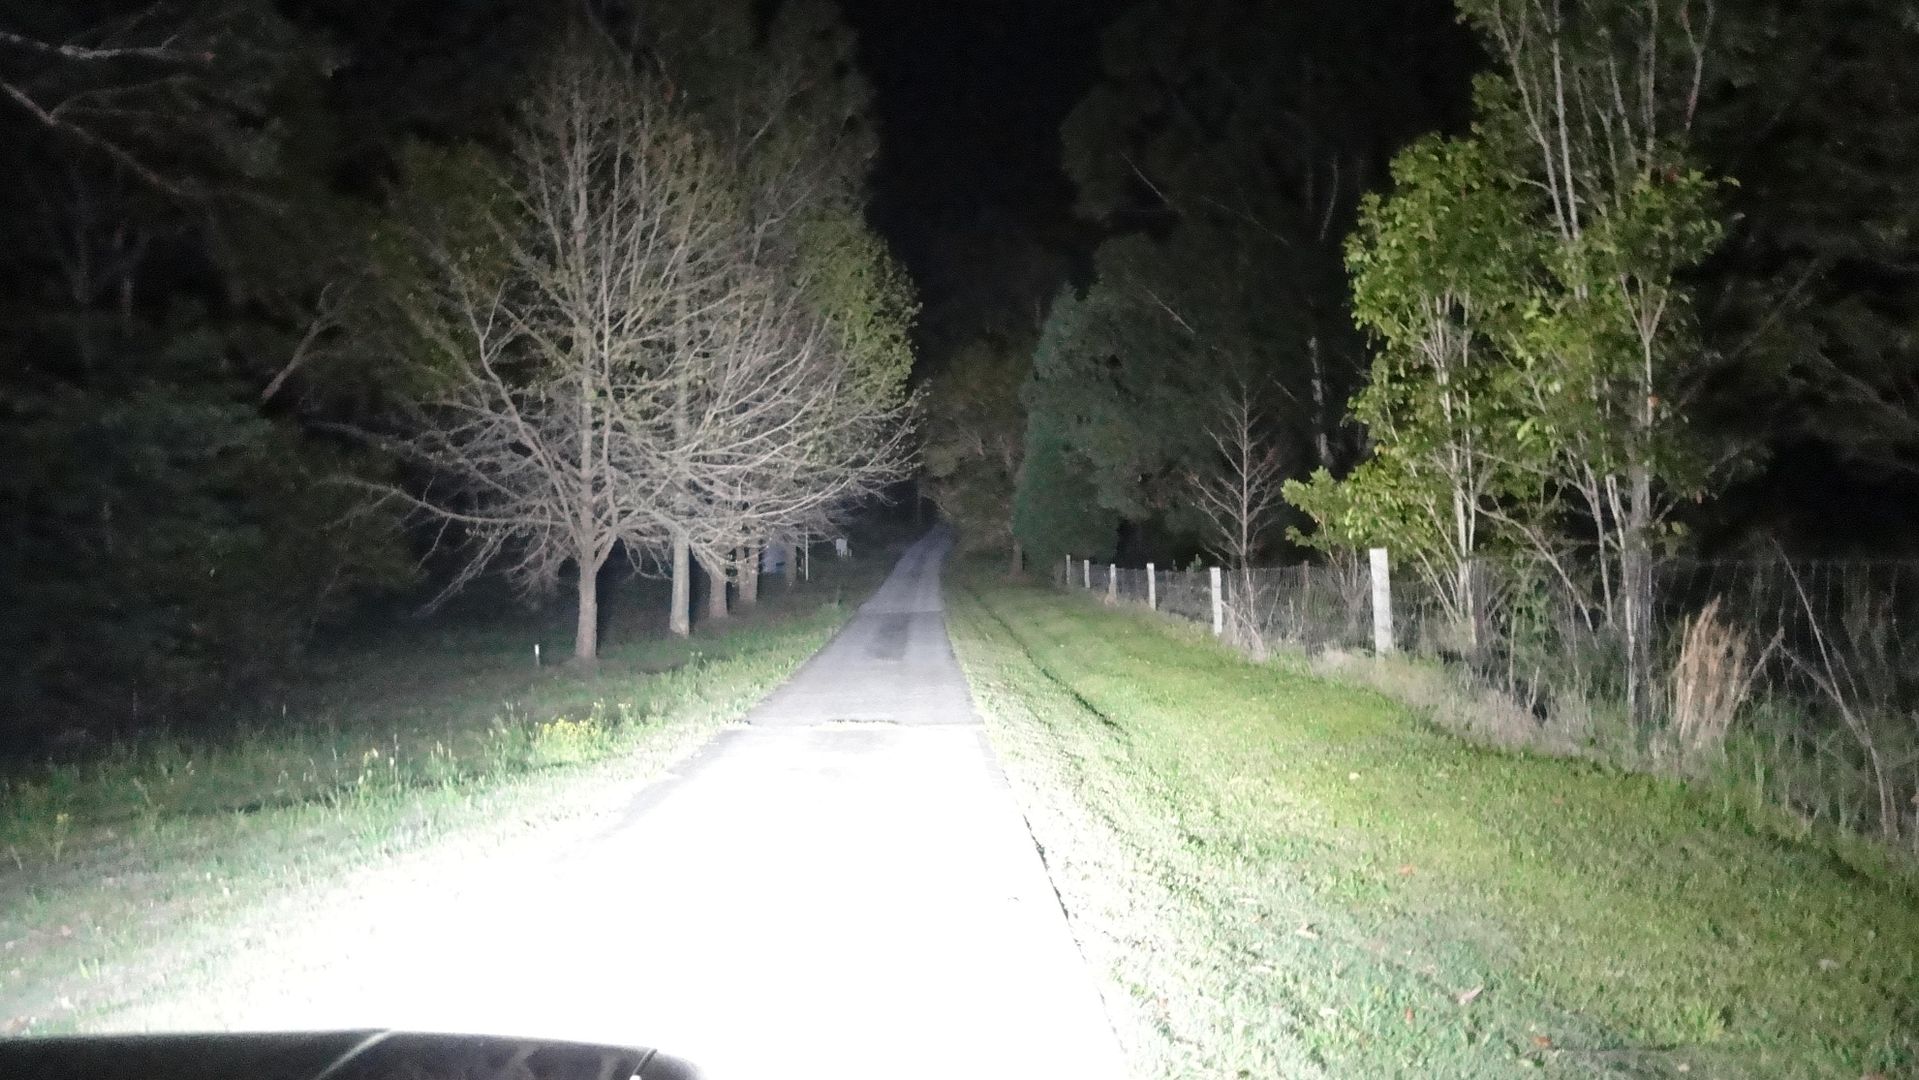
The spotlights haven't been directed properly but you can see the difference. I haven't got any comparison shots with HIDs or other spotlights yet. The water pump at the end of the trees on the left is about 80-100m away.
Car low beam
Car high beam
4x LED Spotlights
And just to show you the angle of spread
The only issue with these spotlights is from the driver, there are currently 3 different modes, high, low and strobe. There is no memory so every time you switch it off you have to cycle through low and strobe to get back to high. I have found a way to eleminate this so you only get high but I am yet to try it.
I also want to paint mine black, but haven't gotten around to it yet.
Hope this helps people
Last edit: 25 Apr 2012 15:37 by Sandez. Reason: Fix broken photo links
Please Log in or Create an account to join the conversation.
- VAXXi
- New Member
-

Public
Less
More
- Thank you received: 0
25 Oct 2011 10:54 #24436
by VAXXi
Replied by VAXXi on topic Re: DIY LED Spotlights - Complete build guide
Excellent idea and DIY project. Congratulations and thank you for the tip 
Please Log in or Create an account to join the conversation.
- Dutchjimny
- New Member
-

Public
Less
More
- Thank you received: 0
25 Oct 2011 14:26 #24445
by Dutchjimny
Replied by Dutchjimny on topic Re: DIY LED Spotlights - Complete build guide
Nice job!
It even spreads under the car :lol:
It even spreads under the car :lol:
Please Log in or Create an account to join the conversation.
- Back in Black
- New Member
-

Public
Less
More
- Thank you received: 0
25 Oct 2011 17:25 #24467
by Back in Black
Replied by Back in Black on topic Re: DIY LED Spotlights - Complete build guide
Most excellent DIY instructions, and the results look awesome too.
The last shot looks like a Close Encounter of the Jimny kind . With the strobe effect running it must be quite a sight.
The last shot looks like a Close Encounter of the Jimny kind
Please Log in or Create an account to join the conversation.
Time to create page: 0.178 seconds


