![]() The content of any article might be expanded / improved in the future - revisit it sometimes.
The content of any article might be expanded / improved in the future - revisit it sometimes.
![]() Seen a mistake? Know something that isn't written? Edit and change this article yourself!
Seen a mistake? Know something that isn't written? Edit and change this article yourself!
![]() Some images in the article (if present) can be enlarged by clicking on them.
Some images in the article (if present) can be enlarged by clicking on them.
Contents
Introduction
Jimny 4 (2018 - ongoing) comes with two front speakers installed. No rear speakers are fitted, although the wiring necessary to connect them to the multimedia player (the "headunit") is already in place (confirmed for SZ5, tbc for SZ4). This guide details how to install rear speakers using official Suzuki parts.
Tools needed
- Small flat head screwdriver;
- 10 mm socket & driver/ratchet;
- #2 Philips screwdriver;
- Electrical tape;
- Preferably cloth electrical tape instead of PVC electrical tape;
- Ruler or tape measure;
- Scissors;
- Suitable tool to pry plastic trim;
If you plan do to custom DIY speaker wiring instead of obtaining OEM wiring harness for each rear speaker, you will also need:
- Suitable automotive speaker wires;
- 0,75 mm2 wire thickness;
- Use 1,5 mm2 wire thickness if you plan to attach the speakers to an amplifier;
- Preferably with silicone insulation;
- About 0,7 m (for left speaker) + about 2 m (for right speaker) cable length;
- 0,75 mm2 wire thickness;
- Wire cutter;
- Wire insulation stripper;
- For those who prefer fixed soldered wire connections:
- Soldering iron;
- Solder coil;
- Soldering paste;
- For those who prefer detachable wire connections:
- Suitable cable connectors;
- Wire crimper;
Recommended additional works
While the rear section of vehicle's cabin interior is dismantled and removed in order to install rear speakers, you might use the opportunity to perform some additional works in the exposed cabin sections along the way.
Guide for Gen4 Jimny
In Jimny 4, the wiring necessary to connect the rear speakers to the multimedia player (the "headunit") is already in place (confirmed for SZ5, tbc for SZ4), but special brackets which hold the speakers to the vehicle body have to be purchased.
Parts needed
This guide is based on using only official OEM parts:
- 99197-77R10 - rear speaker bracket kit;
- UK.EU parts 99197-77R00-000 and 990E0-78R32-050
- These parts have to be purchased together!
- UK.EU parts 99197-77R00-000 and 990E0-78R32-050
- 99000-79BJ0-R00 - rear speaker kit;
- These are 2 x Pioneer TS-G1320FZS speakers with some padding and screws;
- No UK/EU equivalent at present;
- These are 2 x Pioneer TS-G1320FZS speakers with some padding and screws;
You could use some other (and better) aftermarket speakers. In that case, double-check that the speaker dimensions, shape, depth and the spacing of the mounting holes to the brackets are compatible.
Preparation
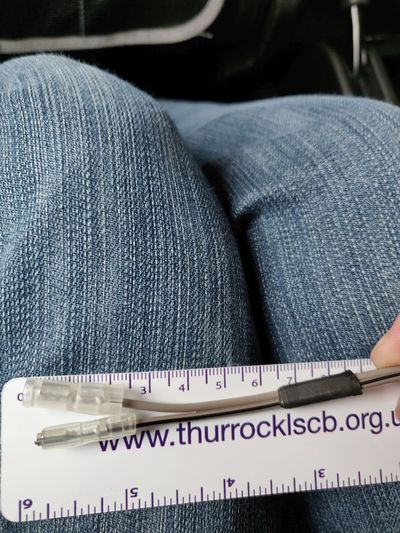
- Measure 65 mm from the bullet connects on each speaker wiring harness and wrap a couple of turns of electrical tape at this point.
- This helps avoid any damage to the wiring once installed.
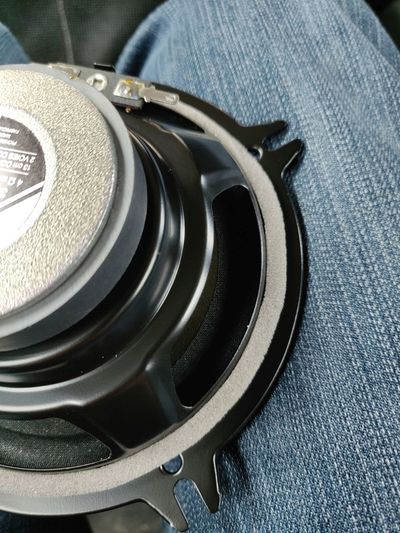
- Fit one strip of the supplied grey foam to the flat surface at the rear of each speaker, adjacent to the cone.
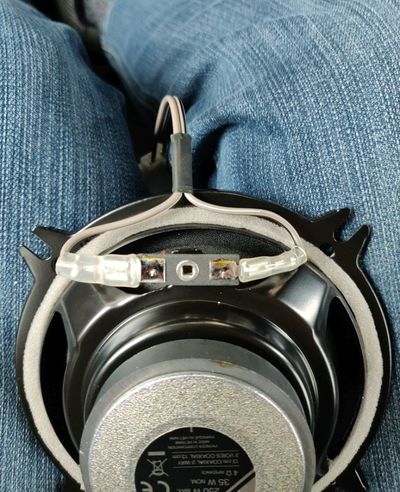
- Attach the wiring harness to each speaker.
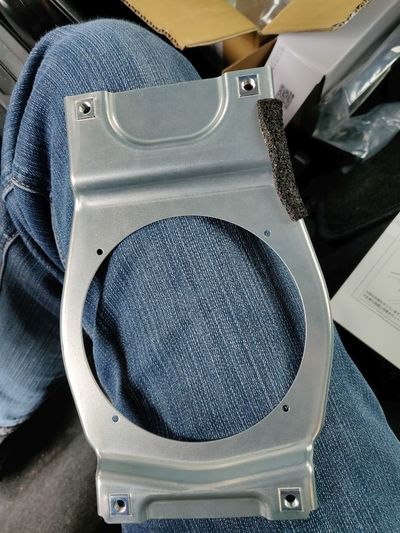
- Fit foam padding strips to the speaker brackets, 15 mm from the top of each bracket.
- On the left side of the car, only a single padding strip is needed (shown here).
- On the right side, a strip should be fitted to both sides of the bracket, to prevent chafing against the car wiring loom.
- Remove rear seat base.
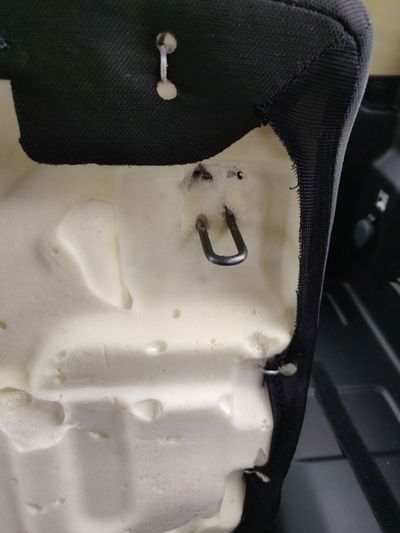
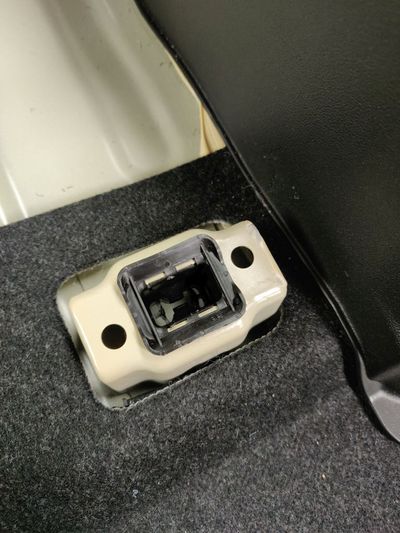
- The cushion is held in place by two brackets that friction fit into sockets in the base of the car.
- Pull the leading edges of the cushion upwards firmly to disengage.
- Remove the rear storage box (if present) and carpet covering the jack and wheel brace.
Trim removal
The following steps are the same for both sides of the car. The photos below show trim on the left side unless otherwise stated.
- Remove the sill scuff plate by firmly lifting upwards, using levers if required to get purchase. It is held in place by multiple friction clips.
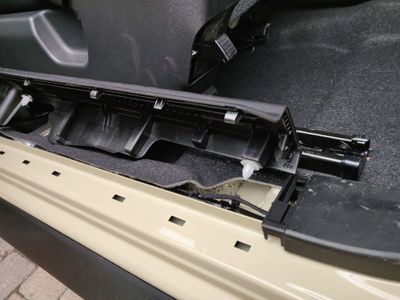
- In the boot, remove the trip pieces covering the back of the seat hinges by levering upwards carefully.
- The photo shows the trim after removal.
- The white parts are friction clips that hold it in place.
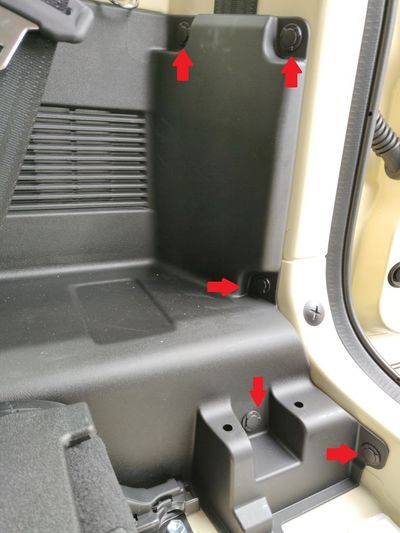
- Remove 5 push pins indicated from the rear of the side trim.
- Photo shows the right side.
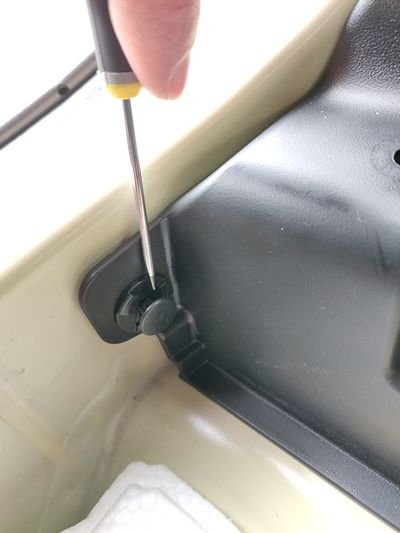
- Do this by loosening the center pin with a small flathead screwdriver as shown, then removing the push pin.
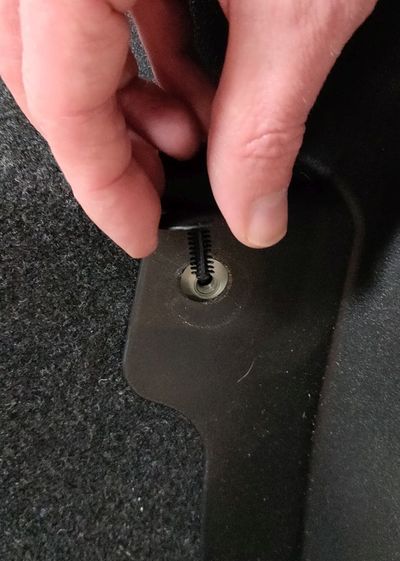
- Detail of removal.
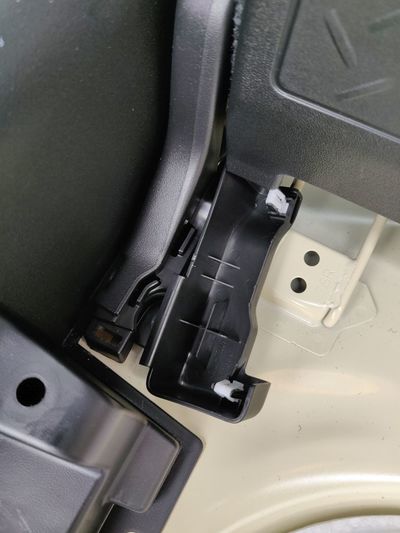
- Remove the single friction fastener in the rear footwell, by slowly levering it out with a suitable tool.
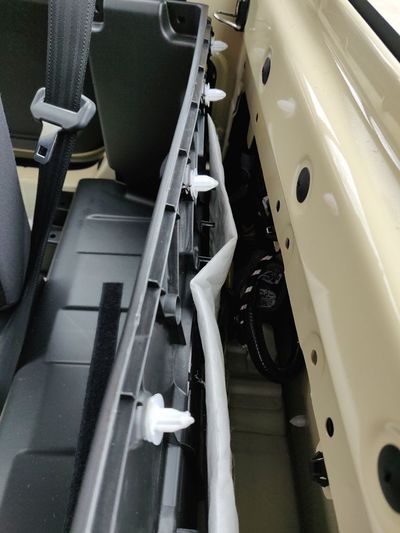
- Carefully pull the top of the side trim away from the car body, which is held in place by 5 friction plugs (white in this image).
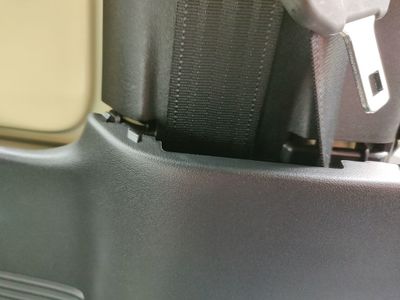
- The side trim around the seat belt has some lugs which lock into the upper trim.
- A firm pull is needed to release these.
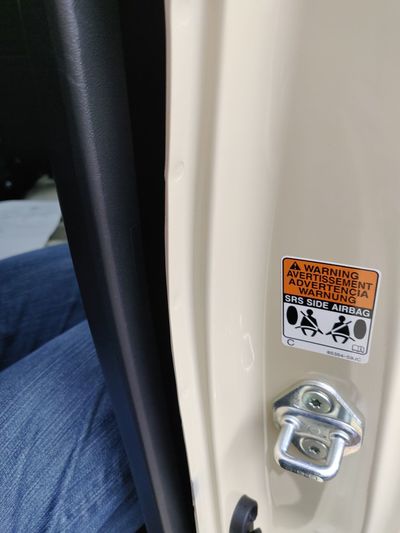
- The leading edge of the side trim wraps around the bodywork in the door opening.
- Carefully pull the trim forward and pull away from the car body.
- Before lifting the side trim out of the car, ensure that the 12V accessory socket (left side) has been disconnected.
Installation
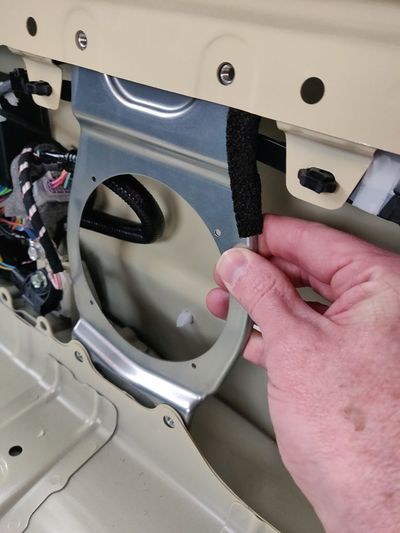
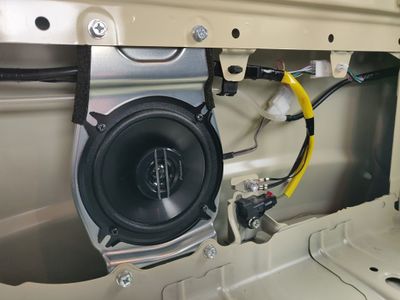
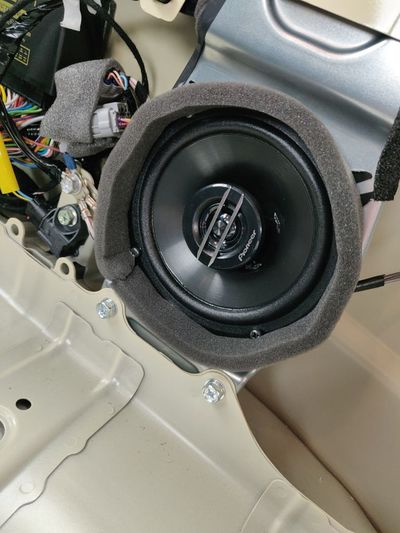
- The speaker brackets fit behind the bodywork of the car, as shown here.
- Secure them in place using the supplied bolts and tighten with either 10 mm socket or PH2 Philips screwdriver.
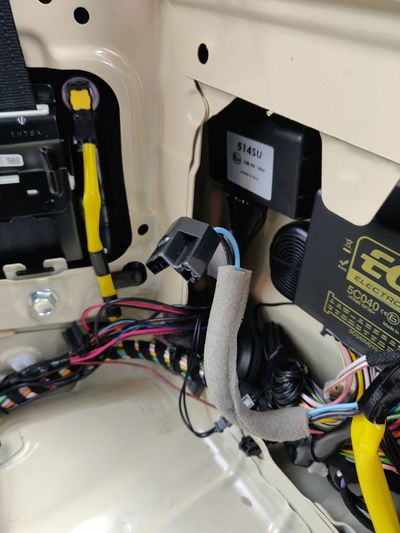
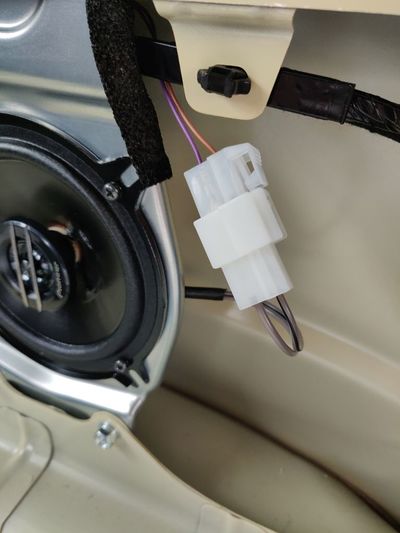
- The speaker wiring connector is taped to the loom as indicated here.
- Remove the tape prior to installing the speakers.
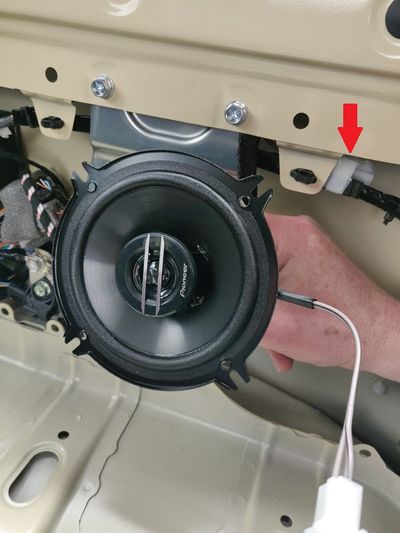
- The speakers need to be oriented with the wiring harness facing towards the front of the car on the left side (as shown) and towards the rear of the car on the right side.
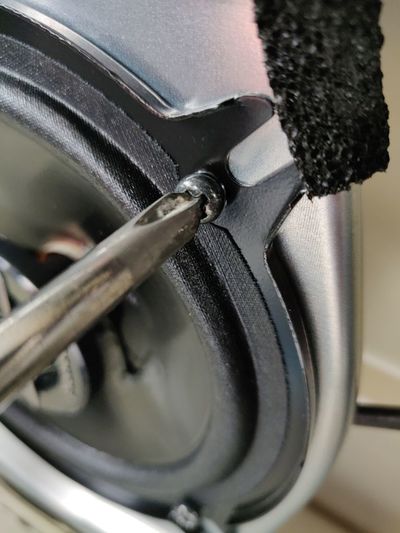
- Secure the speakers to the brackets using the self tapping screws provided.
- Ensure the screwdriver used is a good fit, and be careful not to slip the screwdriver and damage the speaker cones.
- Connect the speaker harness to the car speaker wiring and tape the plug/socket back into position.
- When installing on the right, the speaker wiring should run behind the washer pipe and be taped to the wiring loom.
- Fit the adhesive black foam around the edge of the speaker.
- Be careful not to touch the speaker cone while doing so.
- Have the foam leaning slightly away from the center of the speaker, so that it does not cover the cone once the trim is reinstalled.
- Once a speaker has been installed, test its operation before reinstalling all the trim pieces back in place!
- The test should include whether the speaker actually works and if anything vibrates or rattles when the speaker talks.
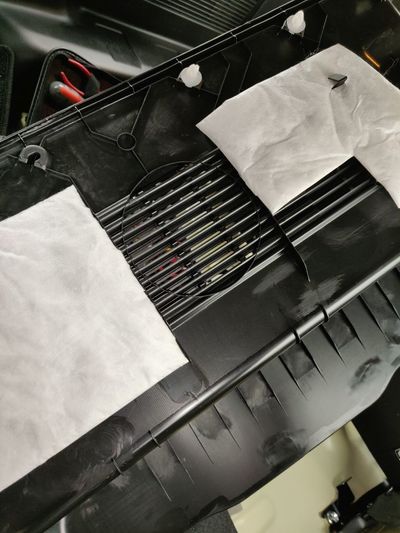
- Using scissors, cut away the insulation from behind the speaker grille in the side trim.
- Use the supplied double-sided tape to hold the remaining pieces of insulation in place.
Now repeat the installation for other side of car.
Finishing steps
- Refit all the trim in reverse order of removal
- Don't forget to reconnect the 12 V accessory socket wiring on the left side of the vehicle.
- Replace all removed trim pieces, rear bench, boot carpet and storage box.
- Enjoy life.


