Jump to navigation
Jump to search
![]() The content of any article might be expanded / improved in the future - revisit it sometimes.
The content of any article might be expanded / improved in the future - revisit it sometimes.
![]() Seen a mistake? Know something that isn't written? Edit and change this article yourself!
Seen a mistake? Know something that isn't written? Edit and change this article yourself!
![]() Some images in the article (if present) can be enlarged by clicking on them.
Some images in the article (if present) can be enlarged by clicking on them.
Contents
Introduction
![]() Guide written by forum user Delux.
Guide written by forum user Delux.
I performed this procedure on my 54 plate convertible, but it's the same procedure for hardtop and older versions.
Required parts
Obviously you need a new antenna, and the choices are the following:
- For Jimnys type 5 and newer (built in ~2005+), original Suzuki antenna is 39250-81A11 (for LHD vehicles) and 39250-81A01 (for RHD vehicles).
- It is not certain if these two antenna models fit only closed top (fixed metal top) Jimnys, or if they fit open top (cabrio) Jimnys too.
- Check with your Suzuki dealer and report back here!
- It is not certain if these two antenna models fit only closed top (fixed metal top) Jimnys, or if they fit open top (cabrio) Jimnys too.
- Alternative info from old Suzuki accessories catalogues from late 2006 (these product might be obsolete):
- For all closed top (fixed metal top) Jimnys built until 2007, original Suzuki antenna is 00800-70B30-000 (for LHD vehicles).
- For all open top (cabrio) Jimnys built until 2007, original Suzuki antenna is 00800-82A00-000 (for LHD vehicles).
- Some aftermarket antennas are also available.
Old antenna removal
- First step is to disconnect the old antenna cable from the extension cable.
- If your car has its original aerial, you will find there is a small extension cable between the end of the aerial cable and the back of the stereo head unit.
- It is usually under the dash next to the centre console on the drivers side (UK Jimnys).
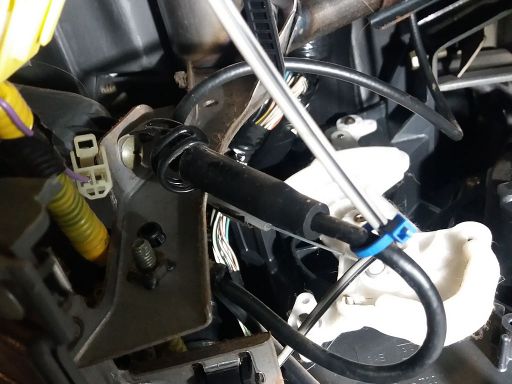
- The point where the antenna cable and the extension cable connect is in the fat, black cylinder in the centre of the picture.
- Cut the cable tie off and give it a pull, aerial cable should unplug from the extension cable.
- I mention this because someone was asking about reception problems and they commented that their aerial was (apparently) OK.
- If corrosion is in this plug, your radio reception will be rubbish!
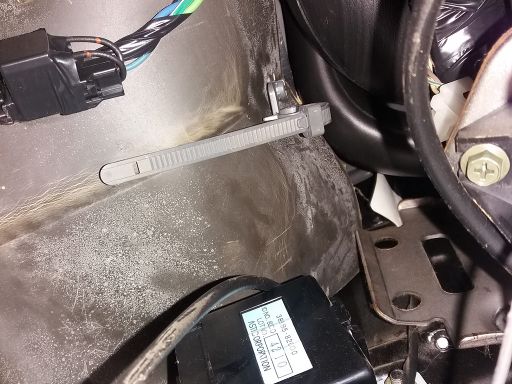
- Anyway, follow the antenna cable along, this one runs along the under dash bar thru some reusable cable ties.
- Follow it along until it disappears into the roof pillar to make sure it is free all the way along.
- Its hard to picture - it leads over the top of that black box into the pillar.
- Easier to feel than show!
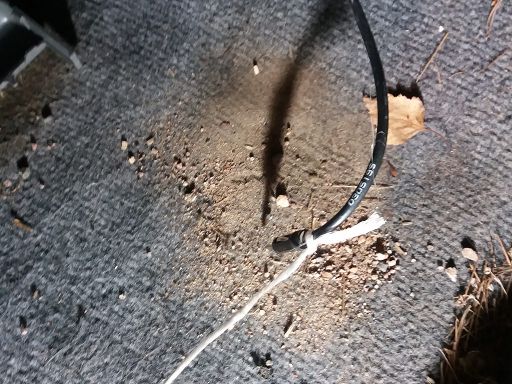
- Next, tie a bit of string round the antenna cable.
- You can tape a bit of wire to it, but a string is a better solution, as you can tie it securely and its harder to accidentally pull off!
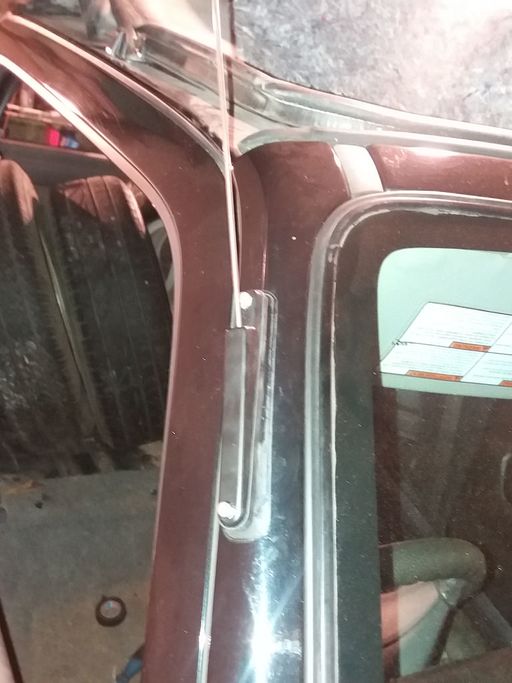
- Now you can unscrew the aerial base and carefully pull it out the pillar.
- As mine is a convertible, the aerial base is on the pillar facing forward.
- On the hard top the base is kinda above the front corner of the door, but the procedure is the same.
- As you pull off the cable from the vehicle, make certain that the "service" string which you had attached to it has enough length to remain hanging in the passenger cabin after the entire antenna assembly is removed from the vehicle's roof.
- Keep going, gently until this (hopefully) happens.
- I just pulled a bit off the end of a big ball of string.
- After the entire assembly is removed, disconnect it from the string, but first make certain that one end of the string remains hanging from the roof and the other end hanging in the passenger cabin!
New vs. old antenna comparison
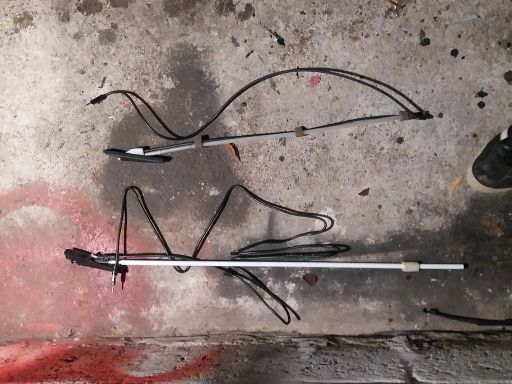
- Anyway, my aerial (white, on the bottom) is from Ebay (about £20).
- Its lead is much longer which makes it easier to refit.
New antenna installation
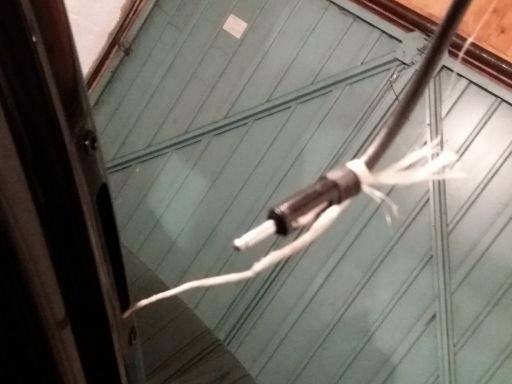
- Securely tie the roof end of the service string to the radio connector of the new cable.
- Feed the aerial plug in first through the hole in the roof, gently pulling the string in the passenger cabin back thru.
- Don't pull too hard - some jiggling may be required.
- You may need to fish the new plug out the hole in the pillar.
- Once it's completely thru, bolt it back on.
- The one I bought was slightly thicker, so I could not use the original screws.
- Luckily it was supplied with its own screws which were fine.
- As this aerial has a longer cable, it will reach the head unit.
- I will remove the extension cable and run it straight into the head unit.
- Just not today as I forgot my radio pins!
Page last edited on 21/02/2019 by user Bosanek

