Contents
Fitting a Cabin/Pollen Filter
Introduction
I wouldn’t mind betting that most people do not realise that the Jimny has a pollen filter or at least has the facility for a pollen filter. Most manuals never refer to it, even in the Service Guide.
I would also bet that most people, particularly those who drive off-road, are tired of the clouds of leaves that hit you in the face when you open the facia vents.
Fitting a pollen filter is straight forward once you know where it is hidden.
First you need a pollen filter [See the BigJimny Shop Filter )
Also note that it is common to break the filter cover when removing it as the plastic becomes brittle, you may wish to consider buying a spare cover at the same time (See the BigJimny Shop Cover )
Changing/Installing a Filter
Tools
Installation
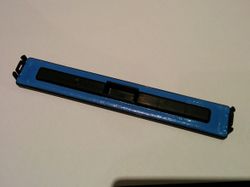
Here is the filter cover, up underneath the dashboard on the passenger side of the vehicle
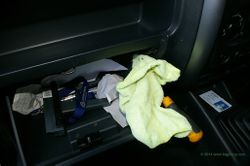
First remove the glovebox, this is done by flexing the sidewalls so the plastic retaining lugs can drop past the edge of the fascia. Lower the whole glovebox away. I am using a screwdriver with the end protected by a cloth to stop it marking the fascia as I use it to prise away the retaining lugs.
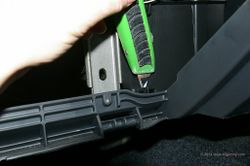
The filter cover is retained by smll clips on the end. The tip of the scewdriver points to where the clip is (hidden).
Warm the plastic filter cover, either use a hairdrier or allow the cars own heater to warm the car (on re-circulate setting). If the plastic is cold it is more likely to fracture. Insert a small blade into the filter retaining lugs and gently prise it away from the edge of the moulded catches on the heater body. Do this a bit at a time alternating front and back.
If you have a UK Jimny, you are more than likely to find an empty hole now (full of bits of leaf). Simply insert the cabin filter.
Gently press the filter cover back into place.
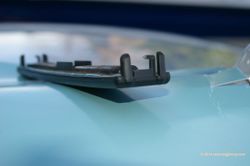
P.S DON’T THINK YOU WILL BE IMMUNE TO BREAKING THE FILTER COVER – HERE IS MINE!
Page last edited on 4/06/2016 by user Mlines


