Jump to navigation
Jump to search
![]() The content of any article might be expanded / improved in the future - revisit it sometimes.
The content of any article might be expanded / improved in the future - revisit it sometimes.
![]() Seen a mistake? Know something that isn't written? Edit and change this article yourself!
Seen a mistake? Know something that isn't written? Edit and change this article yourself!
![]() Some images in the article (if present) can be enlarged by clicking on them.
Some images in the article (if present) can be enlarged by clicking on them.
Contents
Introduction
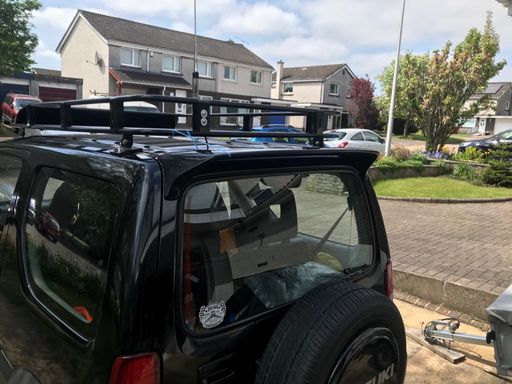
- Adding an upper spoiler to the rear door is mostly for aesthetics, but it does have one useful purpose.
- When driving on dusty gravel or dirt roads, the rear upper spoiler allegedly significantly reduces the ingress of dust in the rear part of vehicle's cabin.
- Having a rear upper spoiler also gives you the justification for stamping a "LamborJimny" inscription on the rear spare wheel cover.
Disclaimer
- The explained procedure below is not exactly as per official Suzuki's instructions (which are currently unknown).
- The described procedure is as one person has decided that it should be done.
- There might be better/simpler/cheaper methods for attaching the rear spoiler!
- This guide was originally written by BigJimny forum user NineCherries.
- It was transferred here by forum user Bosanek.
Required material
- First of all, you need a suitable spoiler.
- All JB33/JB43/JB53 model Jimnys have exactly the same rear door, so any spoiler which is tailor-made for international Jimnys should fit.
- You can either get an original expensive OEM Suzuki rear spoiler (P.N.: 990E0-57M05-000), or an aftermarket-made copy.
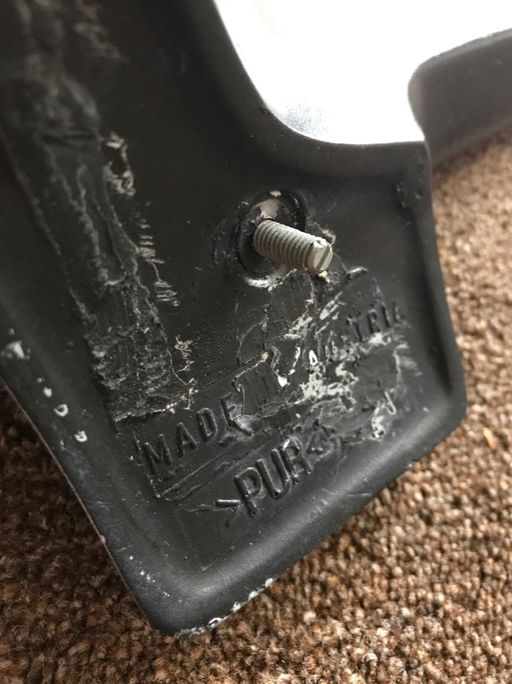
- If you buy a brand new expensive original Suzuki rear spoiler, it will come primed, unpainted, with two threaded holes in it (in the base of its feet which contact the rear door).
- It will also come with with two set/grub bolts and two female threaded plastic sockets.
- If you buy it second hand, it might come without the bolts and/or without the plastic sockets.
- It will also come with with two set/grub bolts and two female threaded plastic sockets.
- If you buy an aftermarket-made rear spoiler for Jimny, it will probably come primed, unpainted, just with two bolts and it will have two threaded holes in it, one hole per foot.
Original fitment principle
- Original Suzuki's solution is to drill two holes just on the outer upper face of the rear door, and then push in two supplied plastic sockets which have female threaded holes in them.
- Then screw the supplied set/grub bolts in the plastic sockets in the rear door, and finally screw the spoiler onto the bolts which now protrude from the door.
DIY fitment principle
Using just a glue
- The simplest DIY principle would be to simply glue the feet of the spoiler to the top of the rear door with some strong adhesive.
- Example of a strong adhesive type are the adhesives which are used for securing the automotive glass windows to vehicle body.
- However, people have reported mixed success stories with this kind of solution - the spoiler sometimes separates from the door after some time.
Emulating original principle
- Although you probably won't have the original plastic sockets, and perhaps not even the original set/grub bolts, a similar DIY solution to the original fixing method can be achieved.
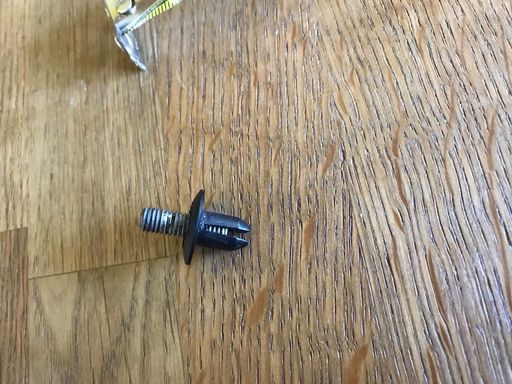
- The idea is to get a pair of some kind of plastic sockets (perhaps from a vehicle trim set) and to get a pair of set bolts, and to make them thread into each other.
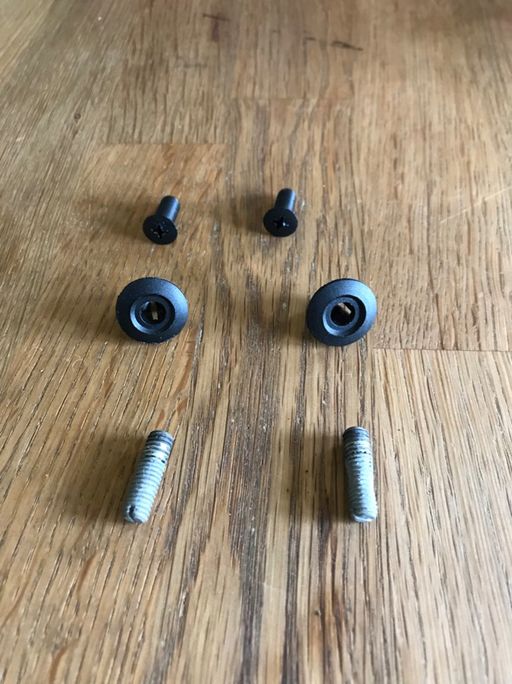
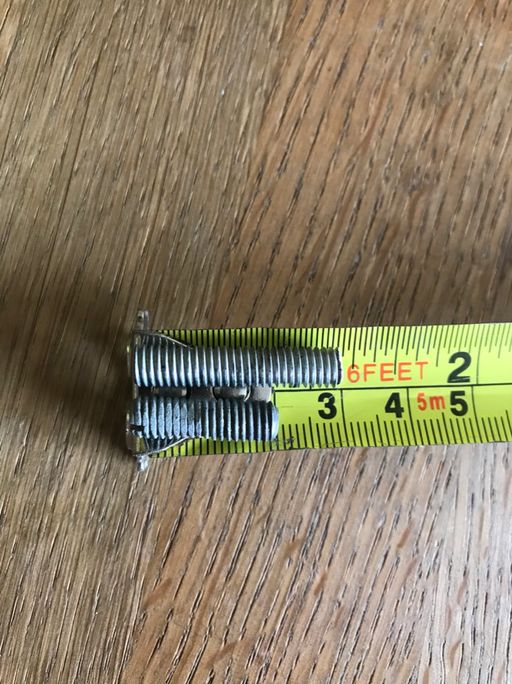
- Pictured in the front are the two original set bolts which Suzuki supplies with the original spoiler.
- Behind is a pair of expanding trim tags.
- Pictured in the background is a pair of plastic screws from the trim tags.
- The screws will not be needed and can be discarded.
Marking the drilling positions
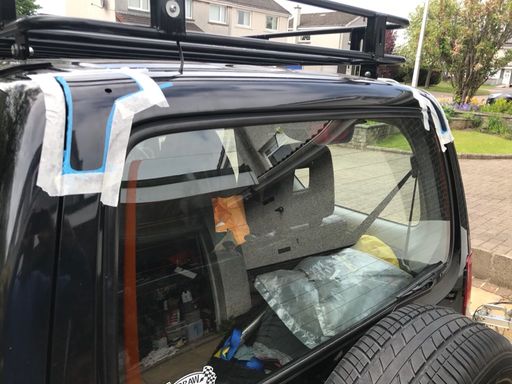
- The most important part of the job is to precisely mark the drilling positions on the outer face of the rear door.
- If marked incorrectly, it can be a costly mistake!
- Therefore, quadruple-check if the marked drilling positions are just the ones which will provide for the desired fitment position of the spoiler on the rear door!
- If marked incorrectly, it can be a costly mistake!
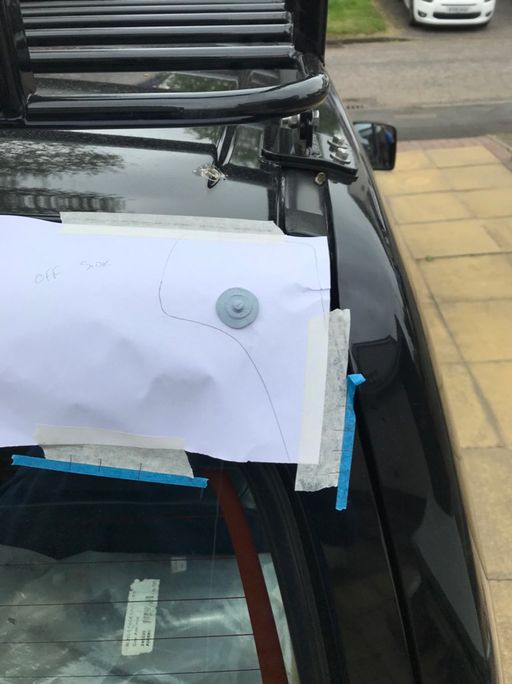
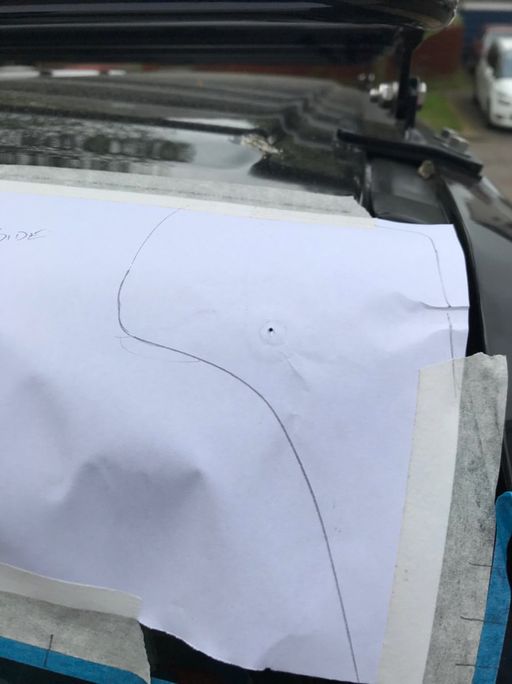
- Initially I decided on using a paper template that I stuck it onto the car and drew around the foot of the spoiler to get a location.
- I marked the position of the paper on the car with tape and pencil lines to aid relocation.
- Then I took it off and pressed with my finger onto the underside of the spoiler to make an indent on the paper of the threaded insert of the spoiler.
- I wasn’t convinced I had it spot on so I decided a cuppa would help.
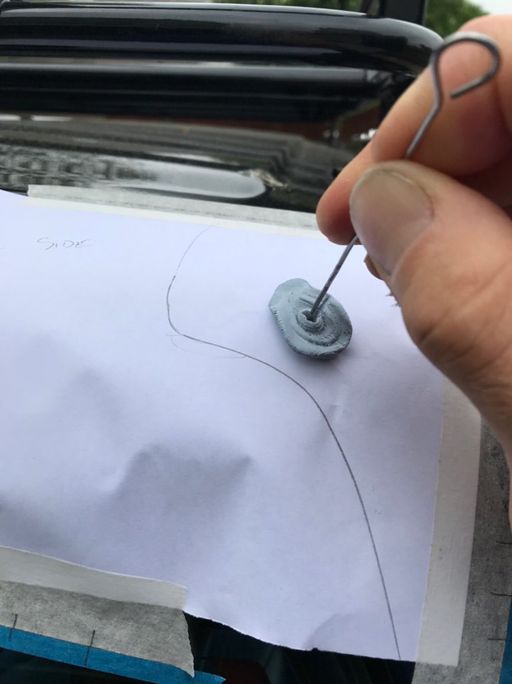
- So, after much head scratching I thought about a blob of blu tac.
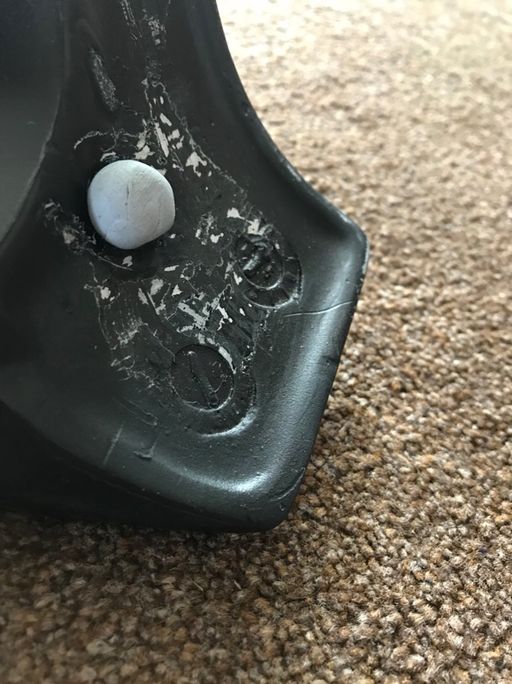
- I wiped a bit of polish onto the contact area of the spoiler before I placed the blob of blu tac onto each fixing point.
- I lined the spoiler up with the template on the car and pressed on then gently removed the spoiler.
- Because I had put a spot of polish on the fixings, the blu tac stuck to the paper and stayed with the car.
- A quick jab with a skewer made a centre point.
- After removing the blu tac from the paper, now I got a precise centre point imprint.
Drilling the holes
- Now this is the point of no return!
- Now the drilling starts.
- If you are using this as a guide, quadruple-check that you are happy with the position before you start drilling.
- With a centre punch mark the door to give the drill a starting point.
- The safest drilling procedure would be to make an initial hole with a 2-4 mm pilot hole and step up 2 mm in drill diameter each time till you drill an 8 mm hole in the rear door.
Test-fitting the spoiler and painting the holes
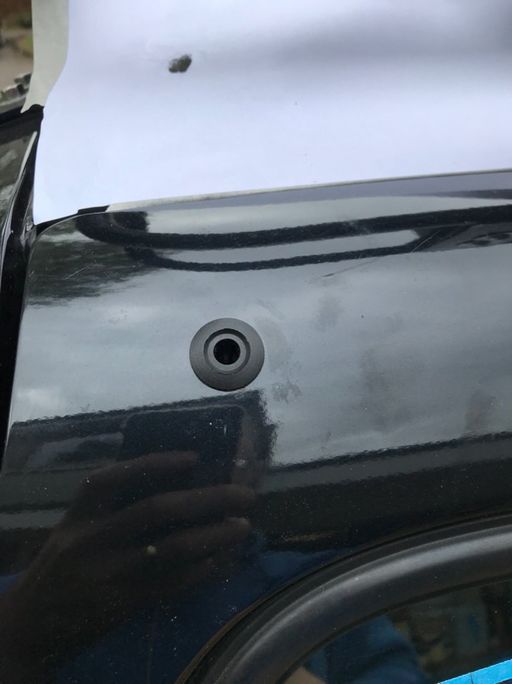
- This is how the hole should look like after inserting the plastic trim piece / "socket".
- But don't leave it there yet, because you need to rust-proof the drilled metal first!
Compatibility between set bolts and plastic sockets
- You now are probably eager to see if you drilled the holes in the proper positions.
- So you can now trial-fit the spoiler with the set bolts and plastic sockets just to see how it looks like.
- However, you need to take it off again and properly rust-proof (paint) the drilled metal around the holes to protect it from future rusting.
- Let the paint dry properly.
- When I took the spoiler off after the trial fit, one of the trim nuts came out and proved that the original threaded grub bolts were too short and the trim but legs weren’t spreading sufficiently to jam the trim in the drilled hole.
- Therefore, it is advisable that you obtain a bit longer set bolts.
- You can make your own set bolts if you just cut off a head of a regular bolt.
- The original set bolts are 20 mm long, so it is advisable to obtain 30 mm long set bolts.
Final attachment
- Some people decide to also use glue in addition to screws to additionally secure the spoiler onto the rear door.
- In this case, it is advisable to mask off the area of the door around the contact area with the spoiler feet, to prevent the spilling glue from making a mess on the surrounding areas of the door.
- The glue was placed around the drilled hole and the plastic trim sockets were pushed into the drilled hole.
- The DIY 30 mm set bolts were wound into the spoiler feet.
- The glue was used on the feet of the spoiler and on the future contact area on the door, and the spoiler was pushed home onto the rear door.
- While the glue was still soft, the masking tape was removed to clear up the small amount of glue that had escaped.
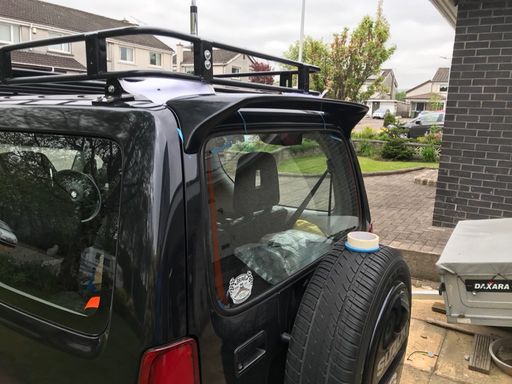
- The spoiler was then left on the car and supporting itself while the glue cured.
- I added some masking tape again to be sure.
References
This article was mainly based on data contained in the following two forum discussions:
Page last edited on 4/01/2019 by user Bosanek

